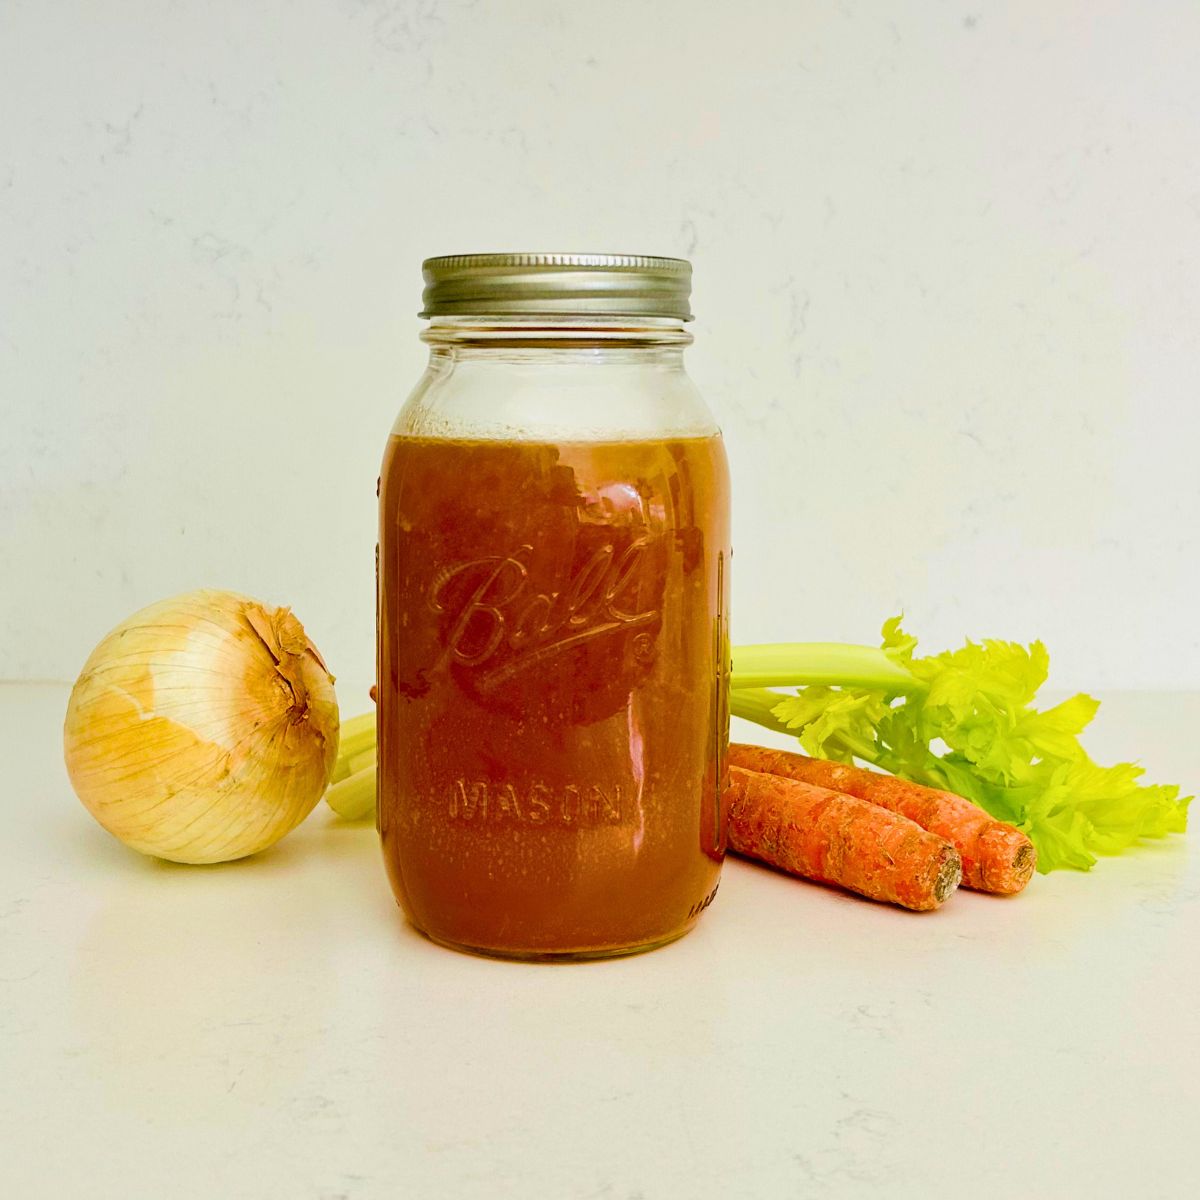
Do you want to make the best gravy of your life? Master this brown chicken stock recipe first! It has a deep, savory flavor with a dark amber color that changes everything.
Accomplished cooks know that brown chicken stock provides something that store-bought just can’t compete with...gelatin. You need gelatin to provide that rich, silky mouthfeel to your best pan sauces and gravies.
Making brown chicken stock at home is very easy, and mostly hands-off once you get it started.
For any stock, it's the collagen from the bones that is key... not the meat. You don't have to buy whole chickens or their parts to make stock. The gelatin is created from cooking the cartilage and bones of turkey and chicken. It's what makes homemade stock jiggle like Jello when it's chilled.
My family knows not to throw away bones that were not put in their mouth. I will gladly carve meat off a cooked chicken breast to be able to save those bones in the freezer for brown chicken stock.
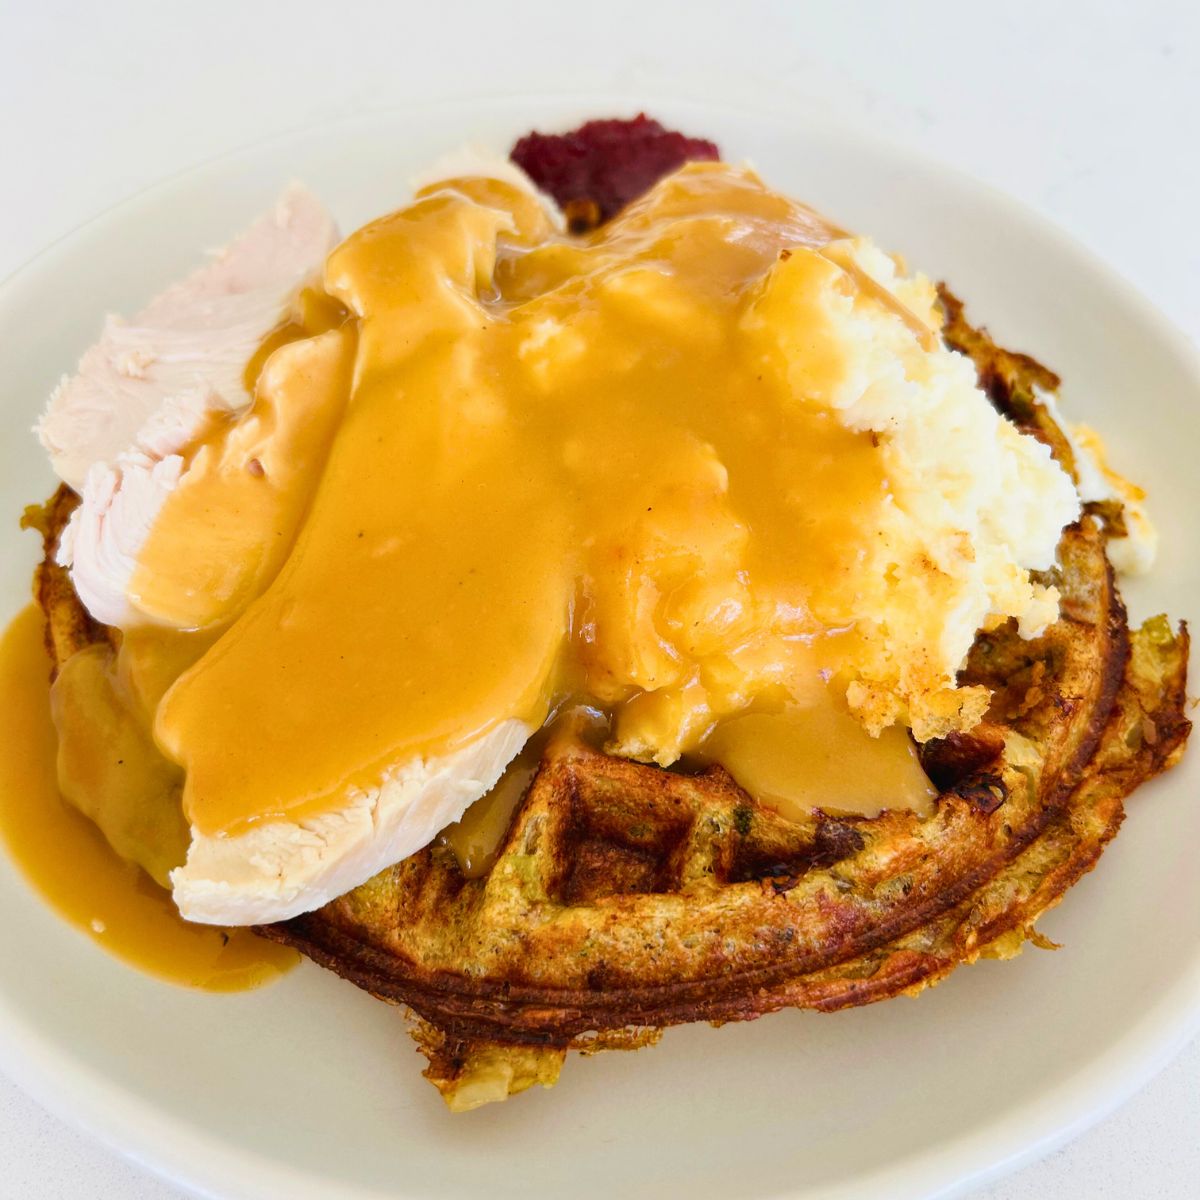
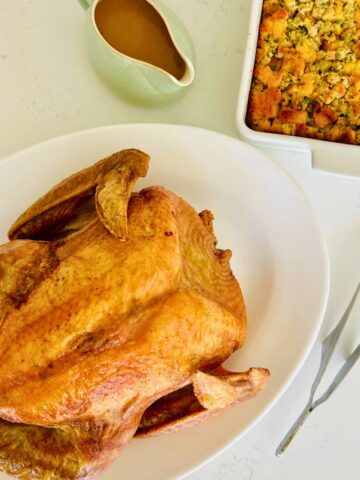
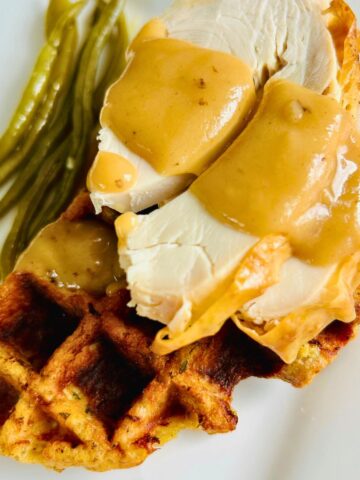
Once you taste the difference homemade stock makes in your cooking, you'll wonder why you waited so long to try it. Your freezer full of bones is about to become your golden ticket for your holiday cooking. Use it to make turkey gravy from the drippings, make-ahead gravy, moisten your stuffing, or this family favorite stuffing waffle recipe.
Jump to:
- What Is The Difference Between Chicken Stock And Brown Chicken Stock?
- Why This Chicken Stock Recipe Is Different
- Ingredients
- Variations
- Equipment
- Water to Chicken Bones Ratio
- 🍗 Brown Chicken Stock Calculator
- How To Make Chicken Stock From Bones
- How to Store Chicken Stock
- FAQ
- More Recipes You Will Love
- 📖 Recipe
- 💬 Comments
What Is The Difference Between Chicken Stock And Brown Chicken Stock?
Chicken (white) stock is made by simmering onion, carrots, celery, and herbs with raw bones in water.
Brown chicken stock has an extra step of roasting the chicken bones and vegetables before simmering. This caramelization process creates complex flavors and gives the stock a brown color compared to regular chicken stock.
I prefer brown stock because it has a more intense, roasted taste and a darker color that's perfect for gravies, pan sauces, and braises.
Why This Chicken Stock Recipe Is Different
- You will buy your chicken to eat the meat first, then toss the bones in the freezer for stock later.
- Brown chicken stock has a more concentrated flavor and darker color than common white stock.
- I have provided this handy stock ratio below. Going forward, you can make the right amount of stock based on the weight of bones in your freezer.
Ingredients
You only need bones and 9 ingredients to make brown chicken stock!
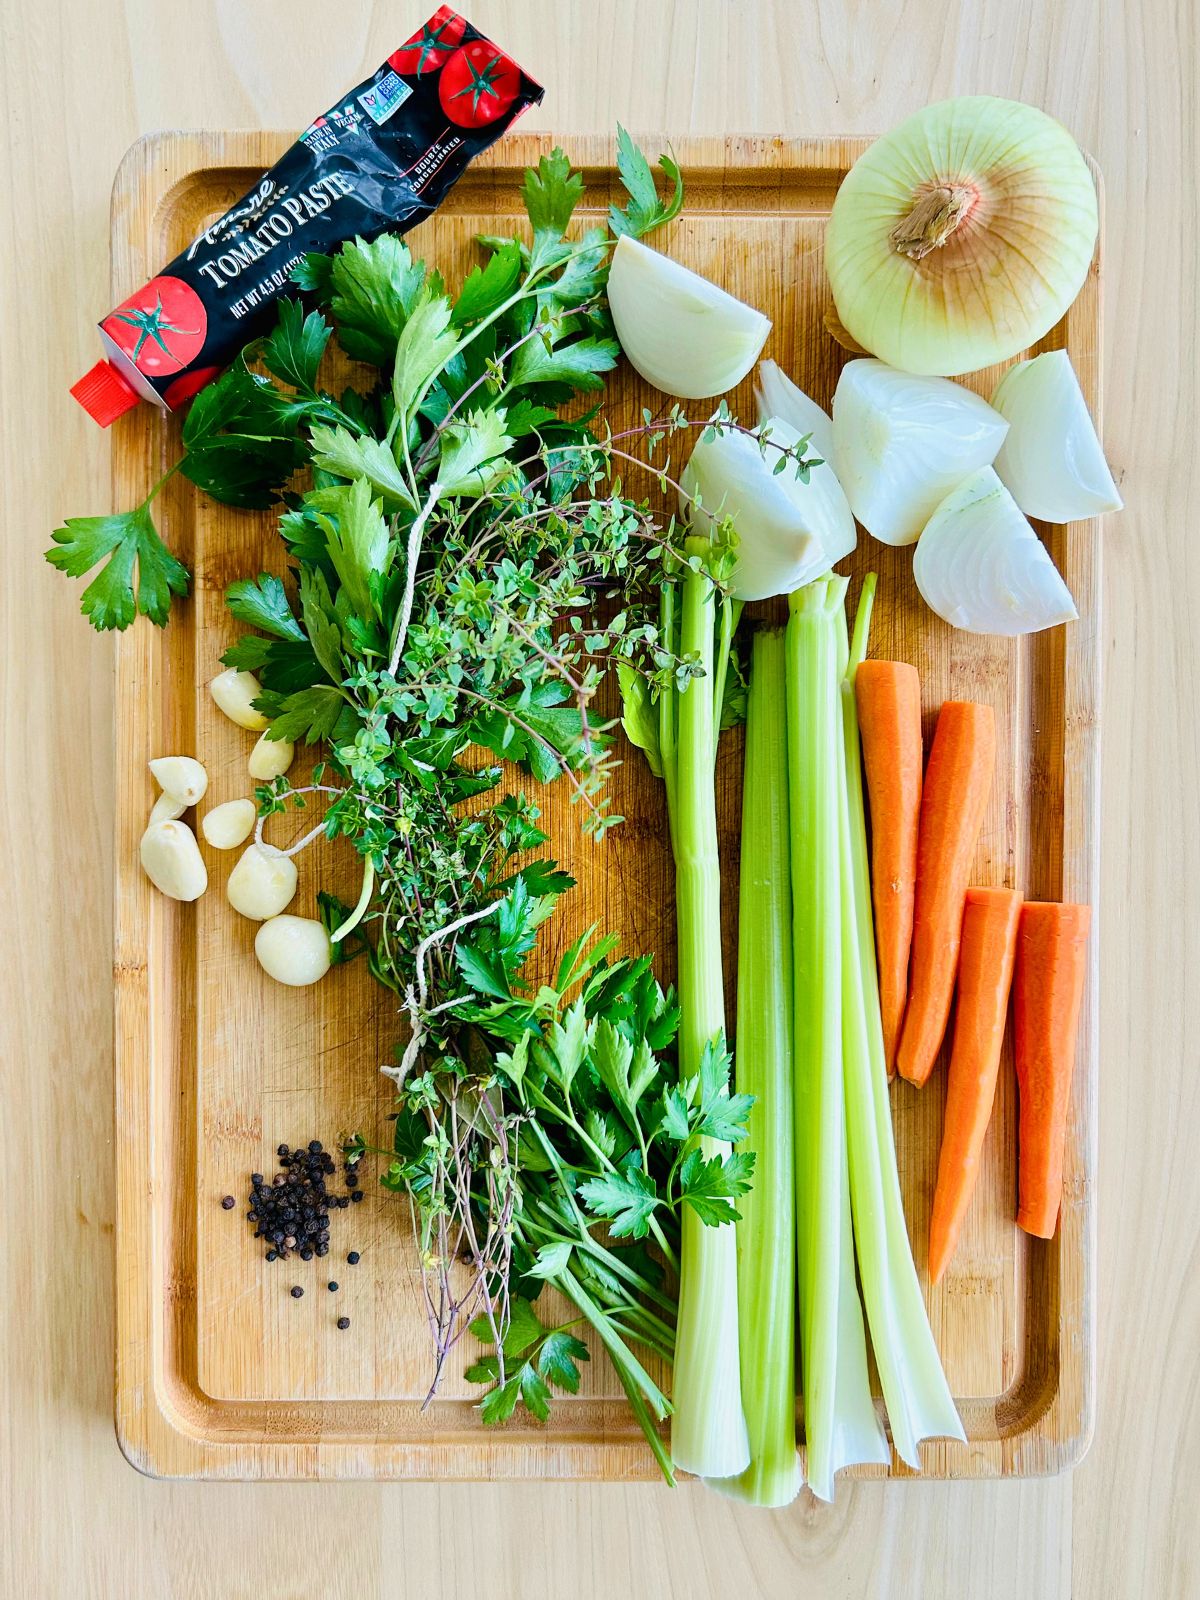
- Poultry Bones: Frozen or fresh bones from your kitchen or the butcher. They can be uncooked or cooked bones. Do not use bones from marinated or spice-rubbed chicken, or those flavors will extract into your stock.
- Onions: Yellow or white onions are recommended and give the stock a great base flavor when combined with carrots and celery. I prefer to peel the onion before adding it to the stock.
- Carrots: To add some sweetness to the stock. I peel and trim the carrots to reduce the dirt residue in the stock.
- Celery: As part of the mirepoix, with the onion and carrots to the stock to add flavor. It can be bitter if you use too much. Discard the yellow center stalks.
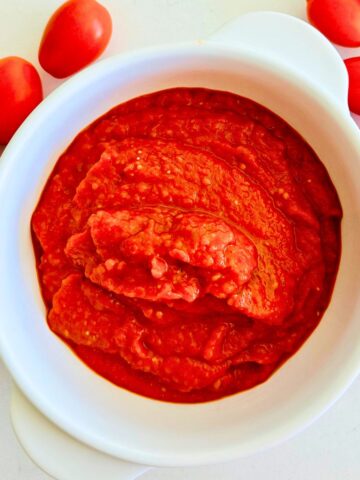
- Tomato Paste: Adds an acidic and sweet component to the gelatinous stock, along with contributing more brown color to the stock.
- Thyme: Fresh thyme complements poultry. The long simmer allows the oils in the fresh thyme leaves and stems to infuse the stock.
- Fresh, Flat Leaf Italian Parsley: Italian parsley helps bring a herby brightness to the stock. Please don't use dried parsley.
- Bay Leaf: Bay leaves and long simmers go together. This herb provides subtle herbal and floral notes. You can locate fresh bay leaves at the store in the produce section next to other herbs nestled in plastic clamshells. If dried bay leaves are your only option, they will suffice.
- Garlic: Fresh peeled garlic cloves, not the jarred stuff.
- Whole Black Peppercorns: They add balance with their gentle heat, and are not as strong as cracked pepper. They are easily removed from the stock compared to ground pepper.
See the recipe card below for ingredient measurements.
Variations
Outside of bones and water, you can adjust your vegetables and herbs to what you have on hand.
- Herbs: If you only have 1 herb on hand to make stock, make it fresh thyme. I don't think a cook can add too much fresh thyme to stock.
- Celery: Thomas Keller writes that leeks are better in chicken broth than celery. Try leeks instead or a combination of both.
- Unroasted vegetables: You don't have to roast the vegetables and skip that step, but they do add more flavor and a darker color to the stock.
- Tomato paste: You can make your own tomato paste from fresh tomatoes. Freeze it in portions.
- Unpeeled vegetables: I prefer cleaning my vegetables first because there is dirt on them, but you don't have to.
Equipment
- 2 quantity, 2-gallon stockpots (one for simmering and a second pot to strain your stock into)
- 13 x 18-inch rimmed cookie sheet
- Scale
- Fine mesh strainer
Water to Chicken Bones Ratio
Thanks to Michael Ruhlman's book, The Ratio, we know that you don't need an exact recipe for stocks. Just use weight, not volume. After checking several professional cookbooks, the sweet spot is consistently 3 parts water to 2 parts bones.
So 2 pounds of bones need 3 pounds (6 cups) of water.
Add about 1 pound of vegetables (half onions, quarter each carrots and celery) and you're set.
How To Make Chicken Stock From Bones
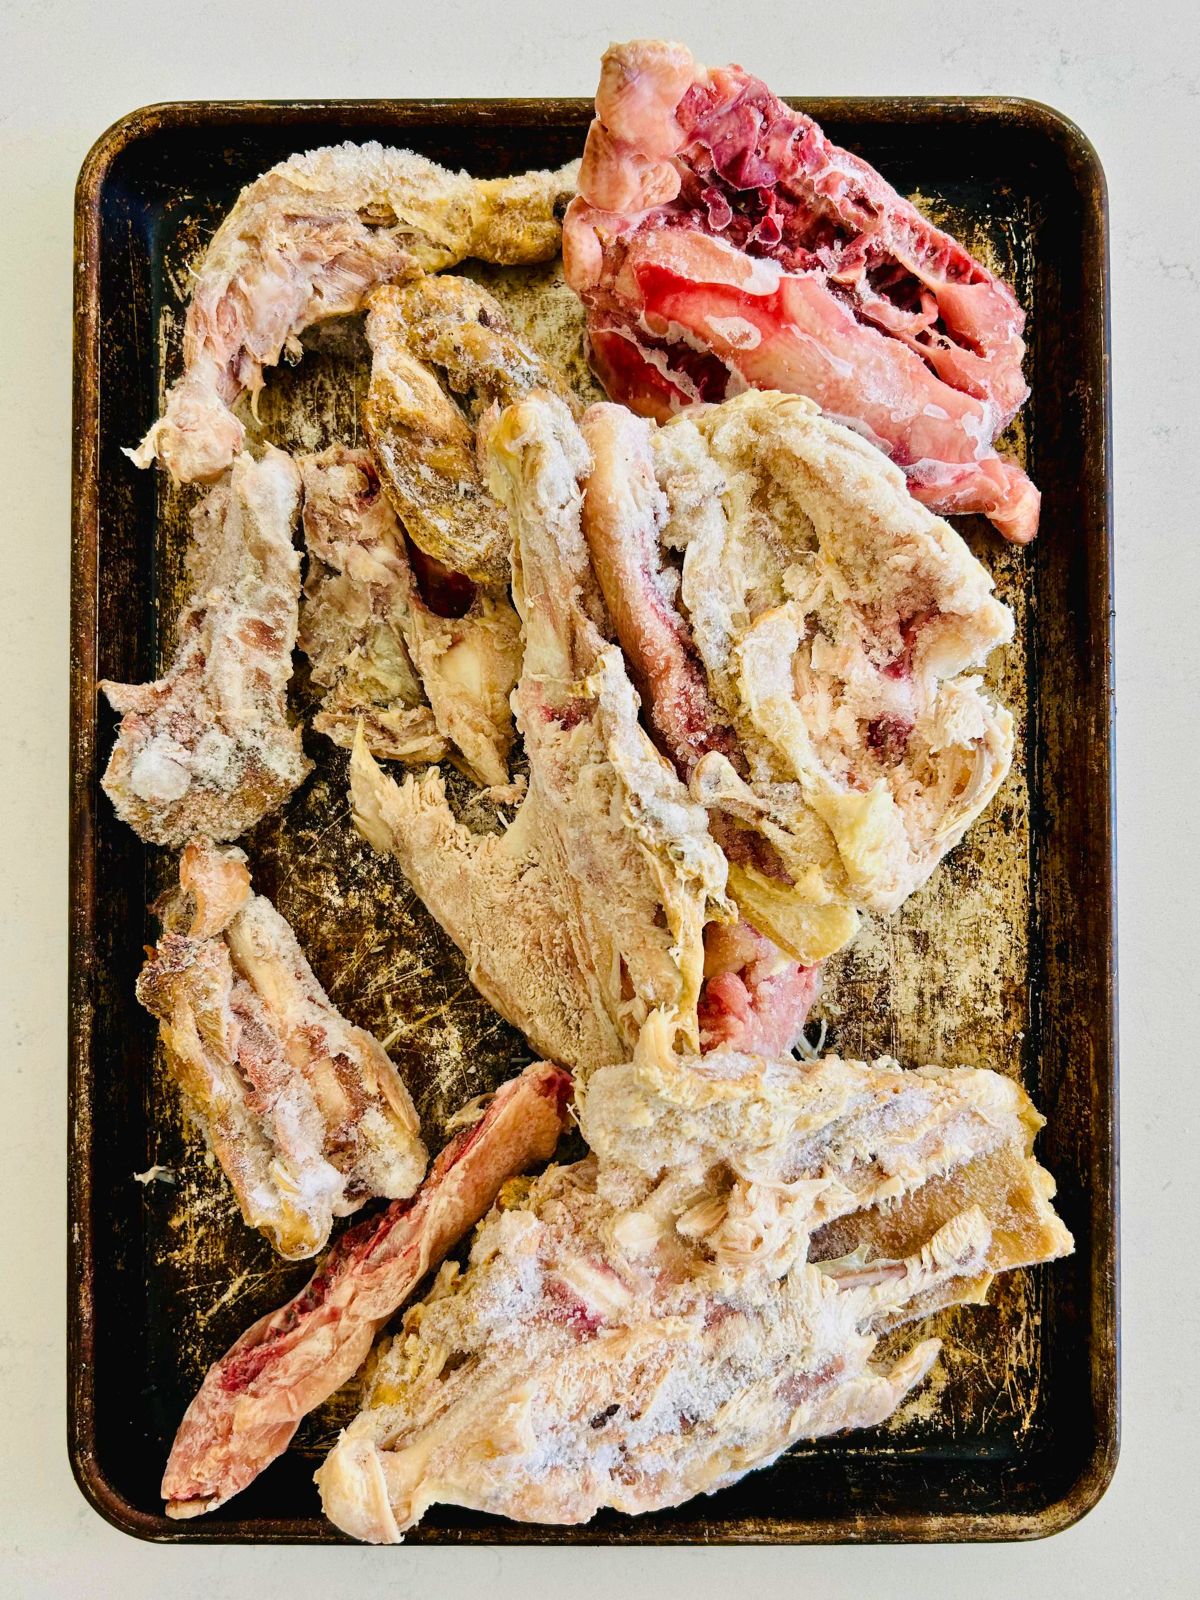
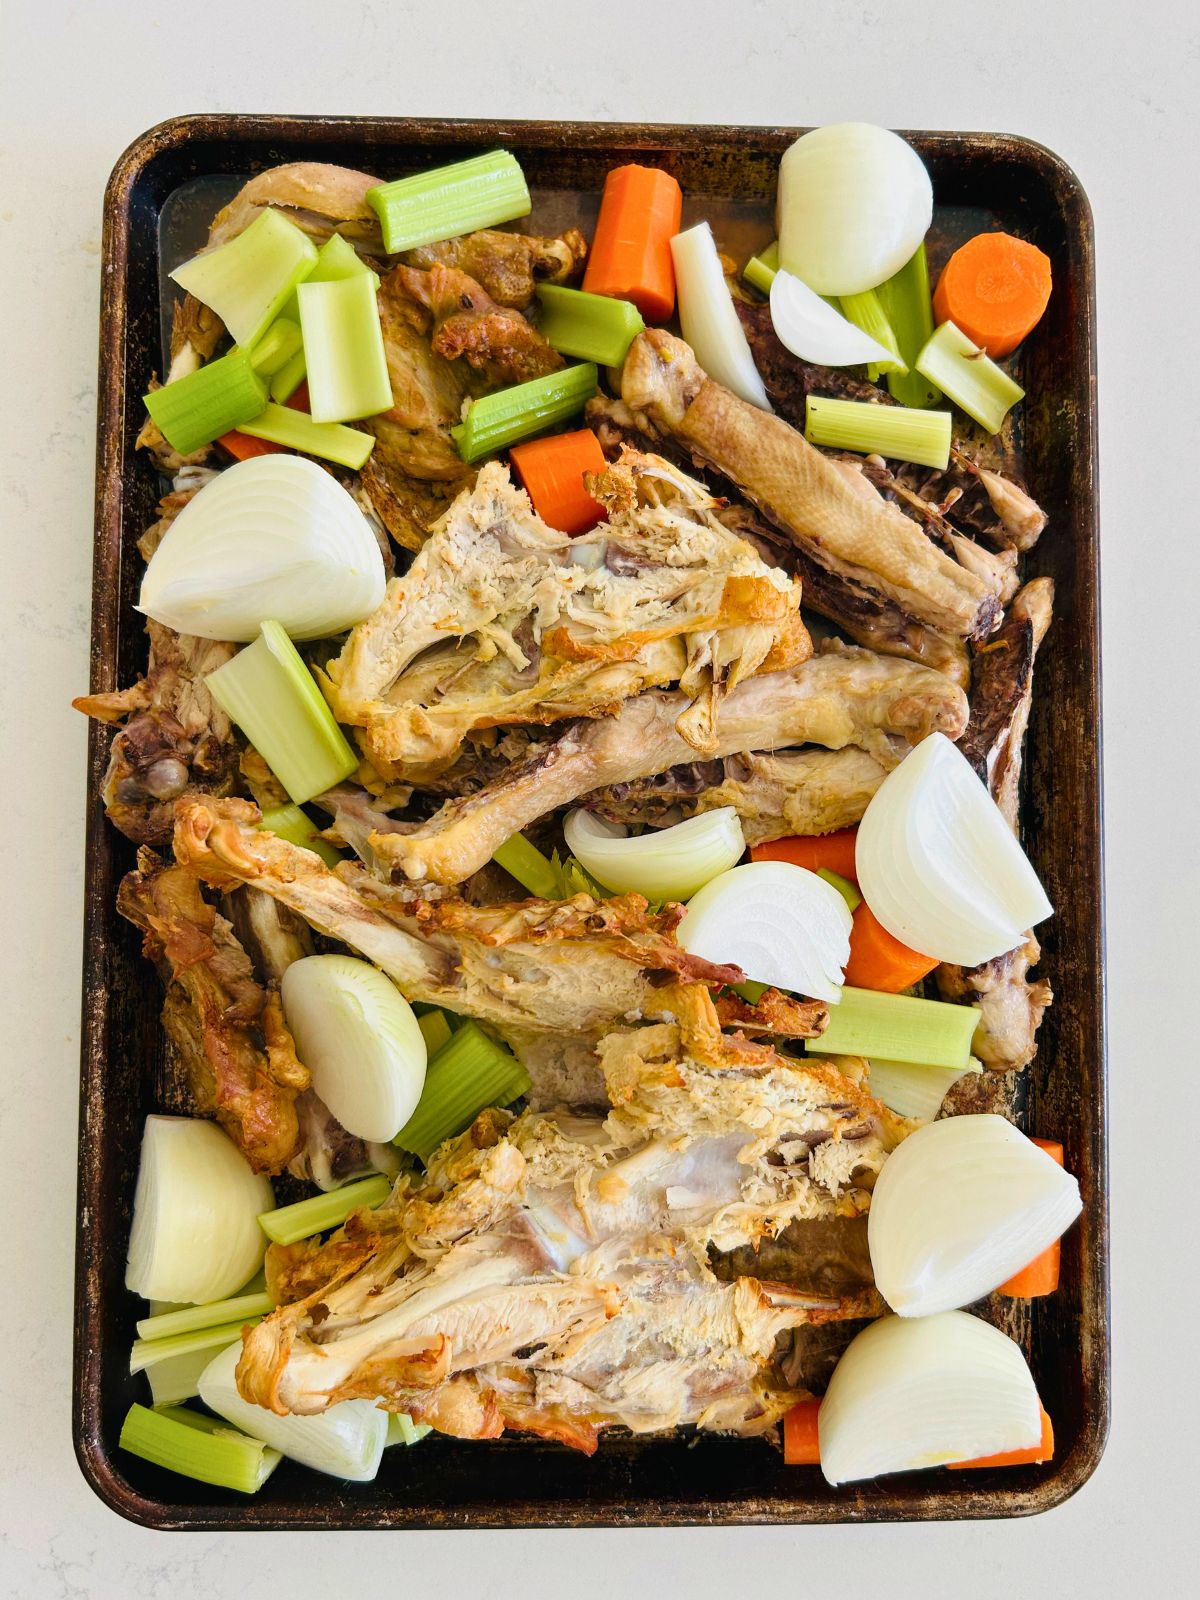
Step 1: Preheat oven to 400℉.
Spread out the frozen or fresh poultry bones onto a cookie sheet.
Cook 30 minutes in the oven until they start to develop color.
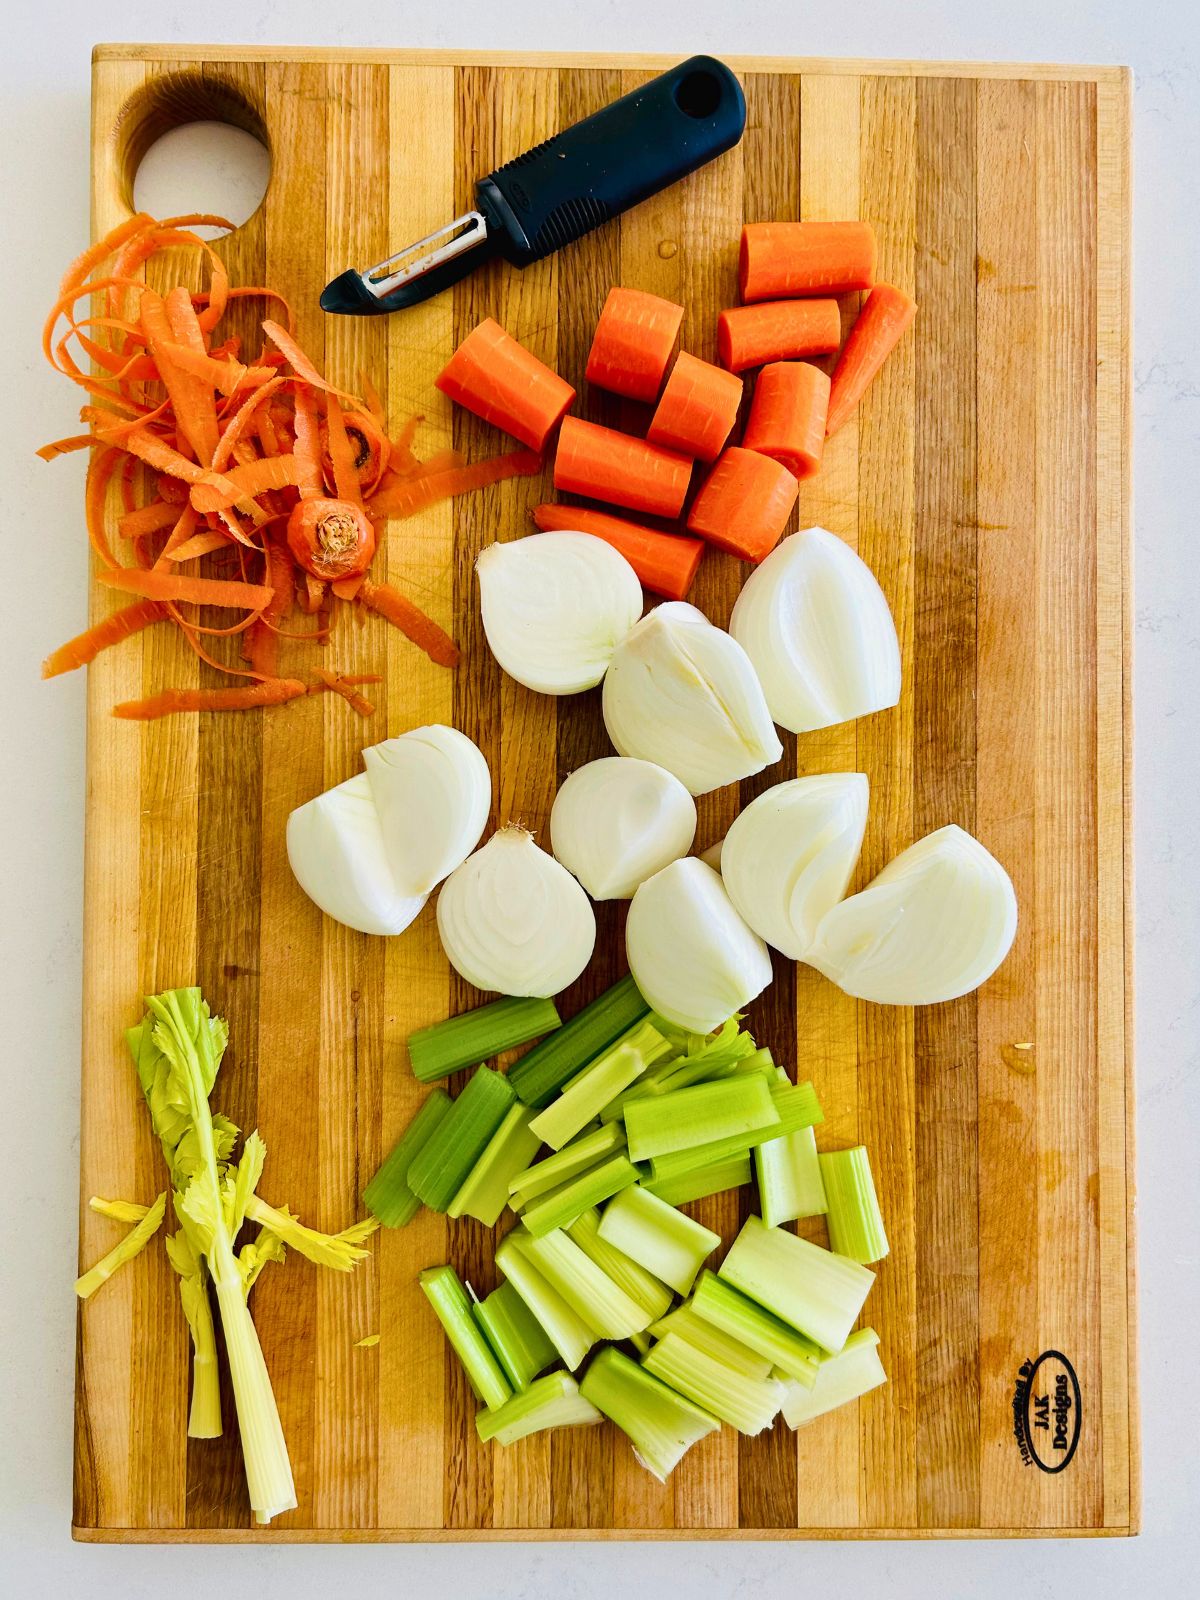
Step 2: While the bones are roasting, peel and trim the onions, carrots, and celery into 2-inch chunks. Don't use the yellow inside of the celery because it is bitter and will add bitterness to the stock.
Step 3: After 30 minutes of roasting the bones, stir the bones with tongs. Then, add the onions, carrots, and celery to the bones on the same cookie sheet.
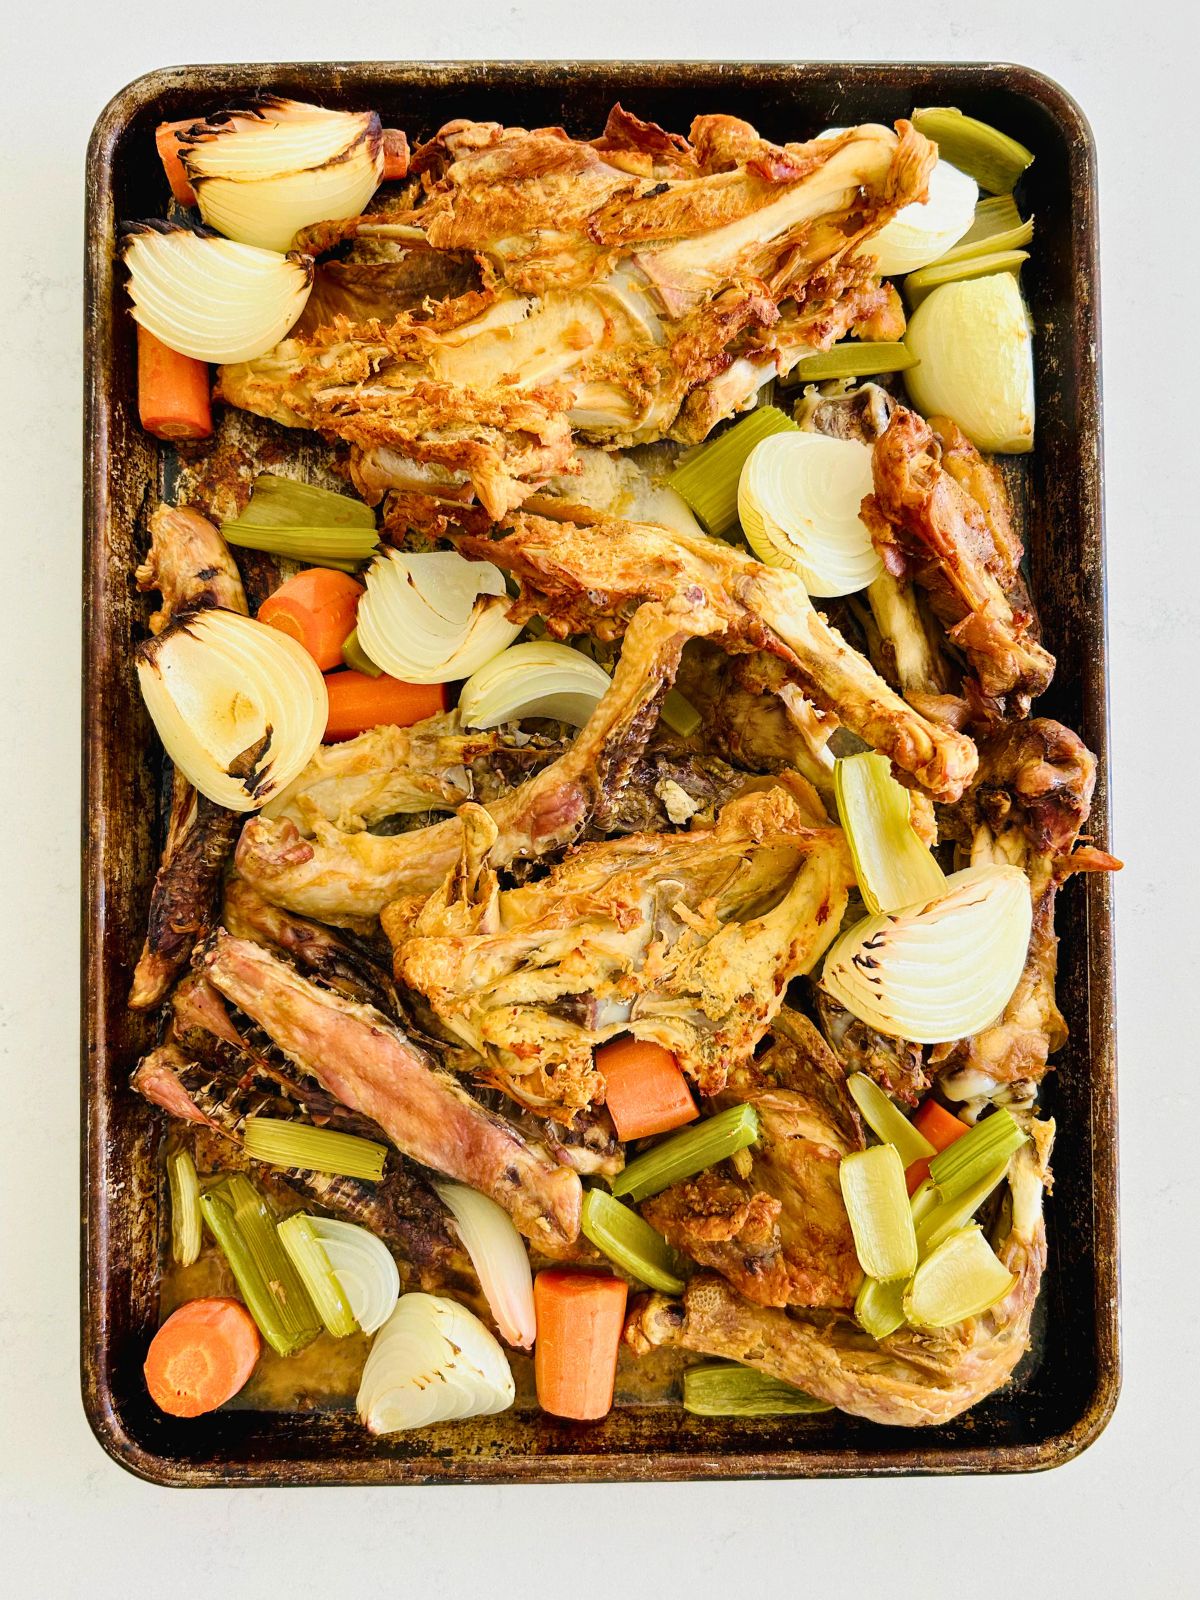
Step 4: Roast for about 45-60 minutes longer. Make sure the bones are very brown before removing them from the oven. Transfer the bones and roasted vegetables to a 2-gallon stock pot.
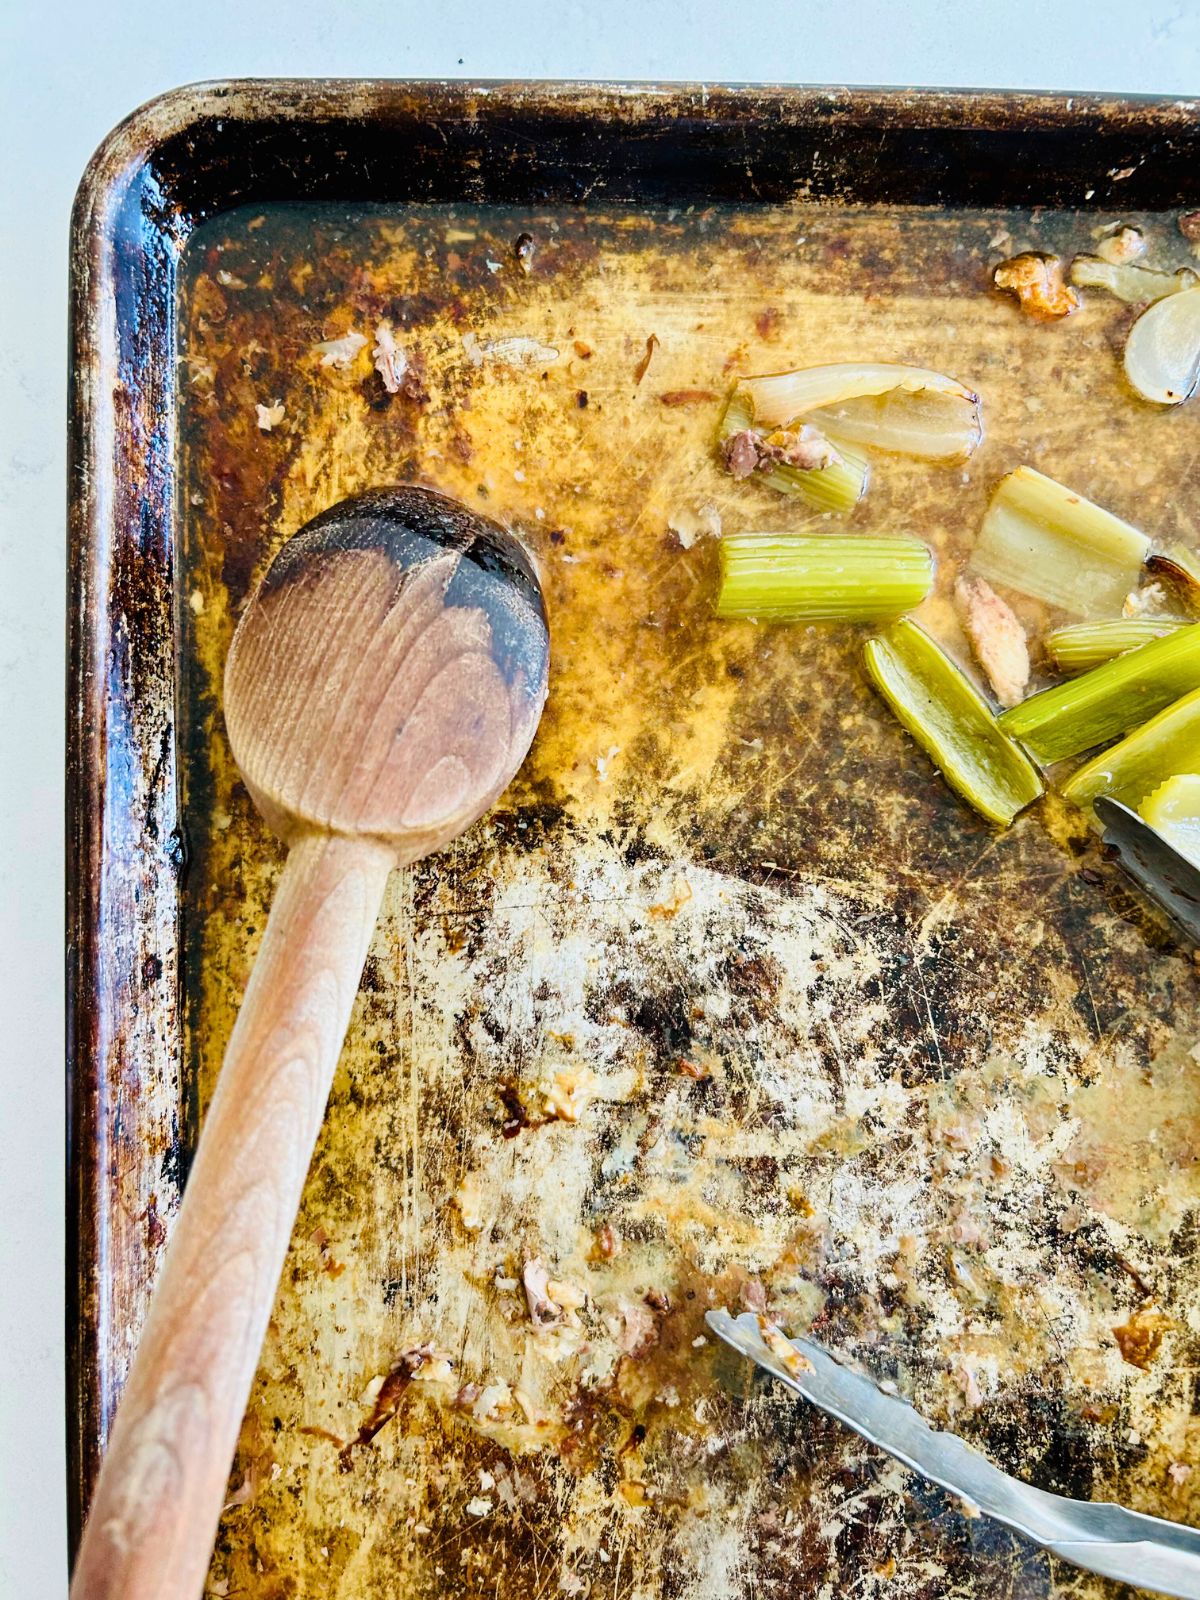
Step 5: Add a cup of warm tap water to the cookie sheet. If the bits are black and charred, skip scraping them into the stock pot as they will create a bitter finish. Otherwise, scrape the brown bits from the cookie sheet with a wooden spoon to loosen them. Add this water to the pot of bones.
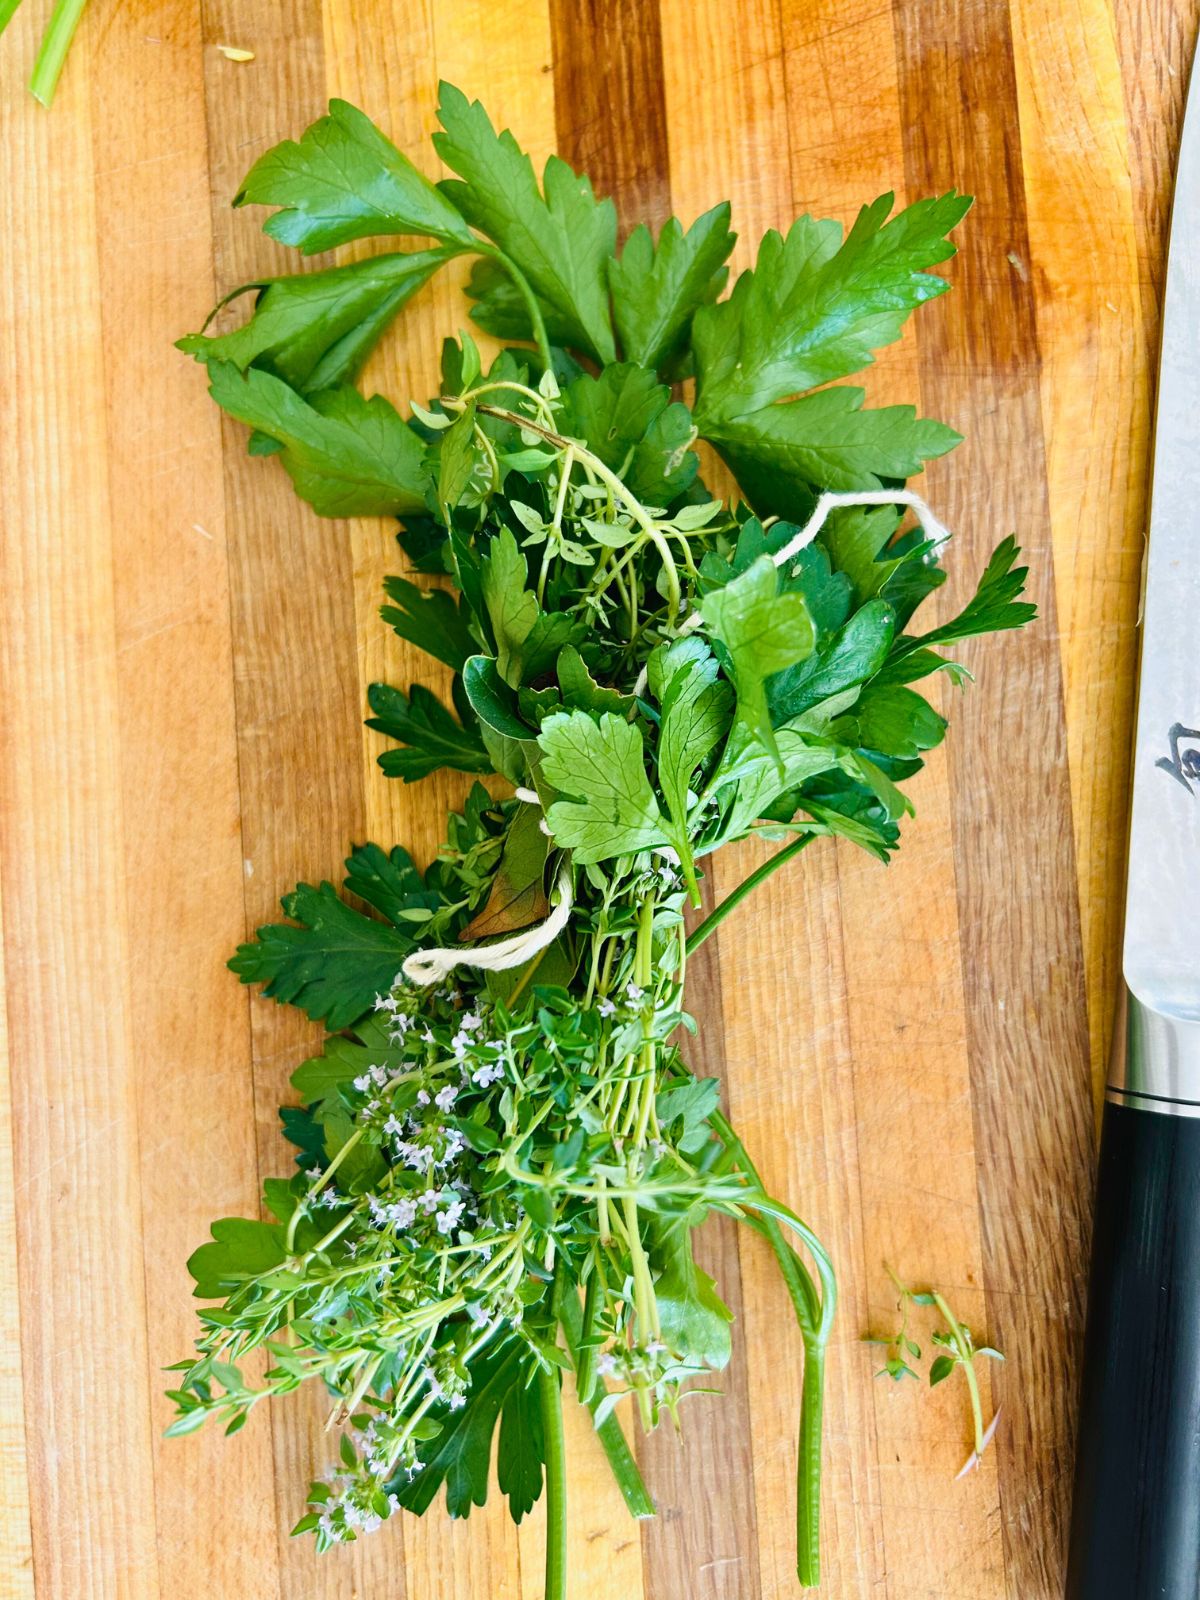
Step 6: Use butcher's string to tie the fresh herbs together in a bundle.
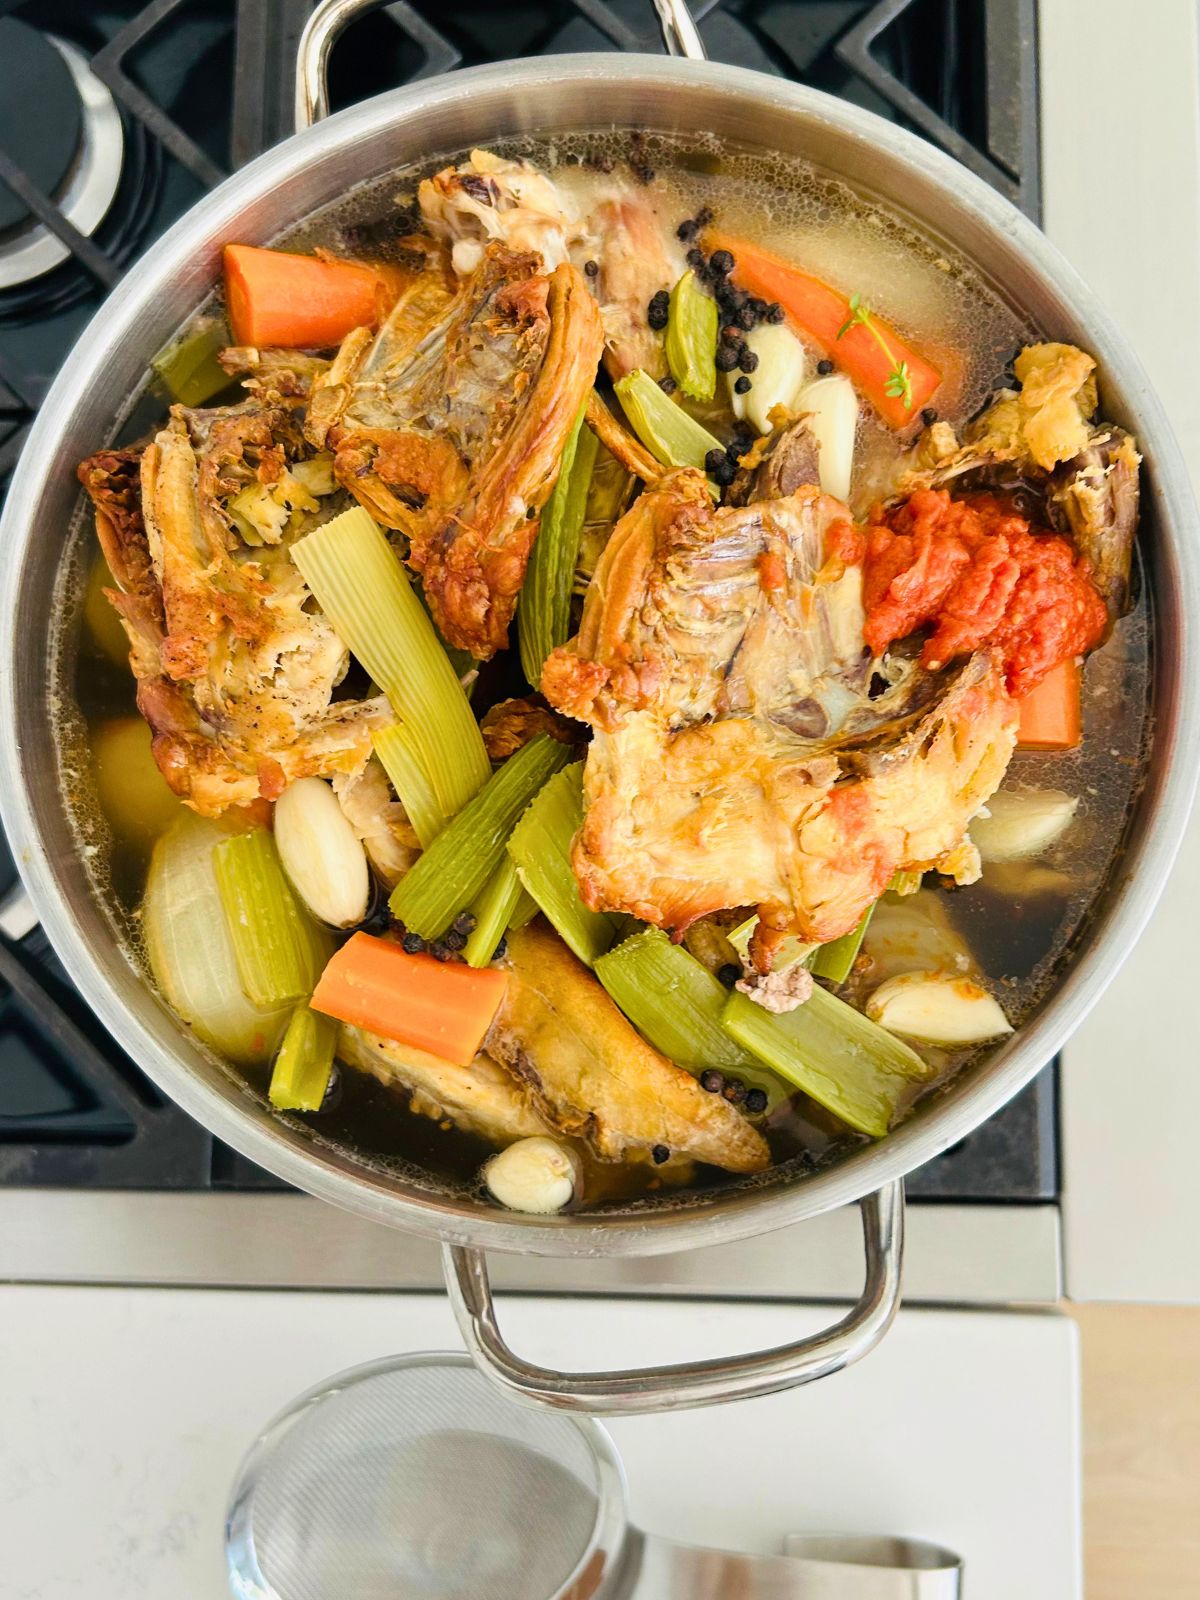
Step 7: Add the water, herbs, garlic cloves, and tomato paste to the pot. Turn the burner to medium-high and start to bring to a gentle boil, then turn the burner down to maintain a strong simmer for 4-5 hours while skimming the foam and solids from the top every 15 minutes for the first hour. Don't let it boil vigorously because it can make your stock cloudy. Reduce the stock by 25%.
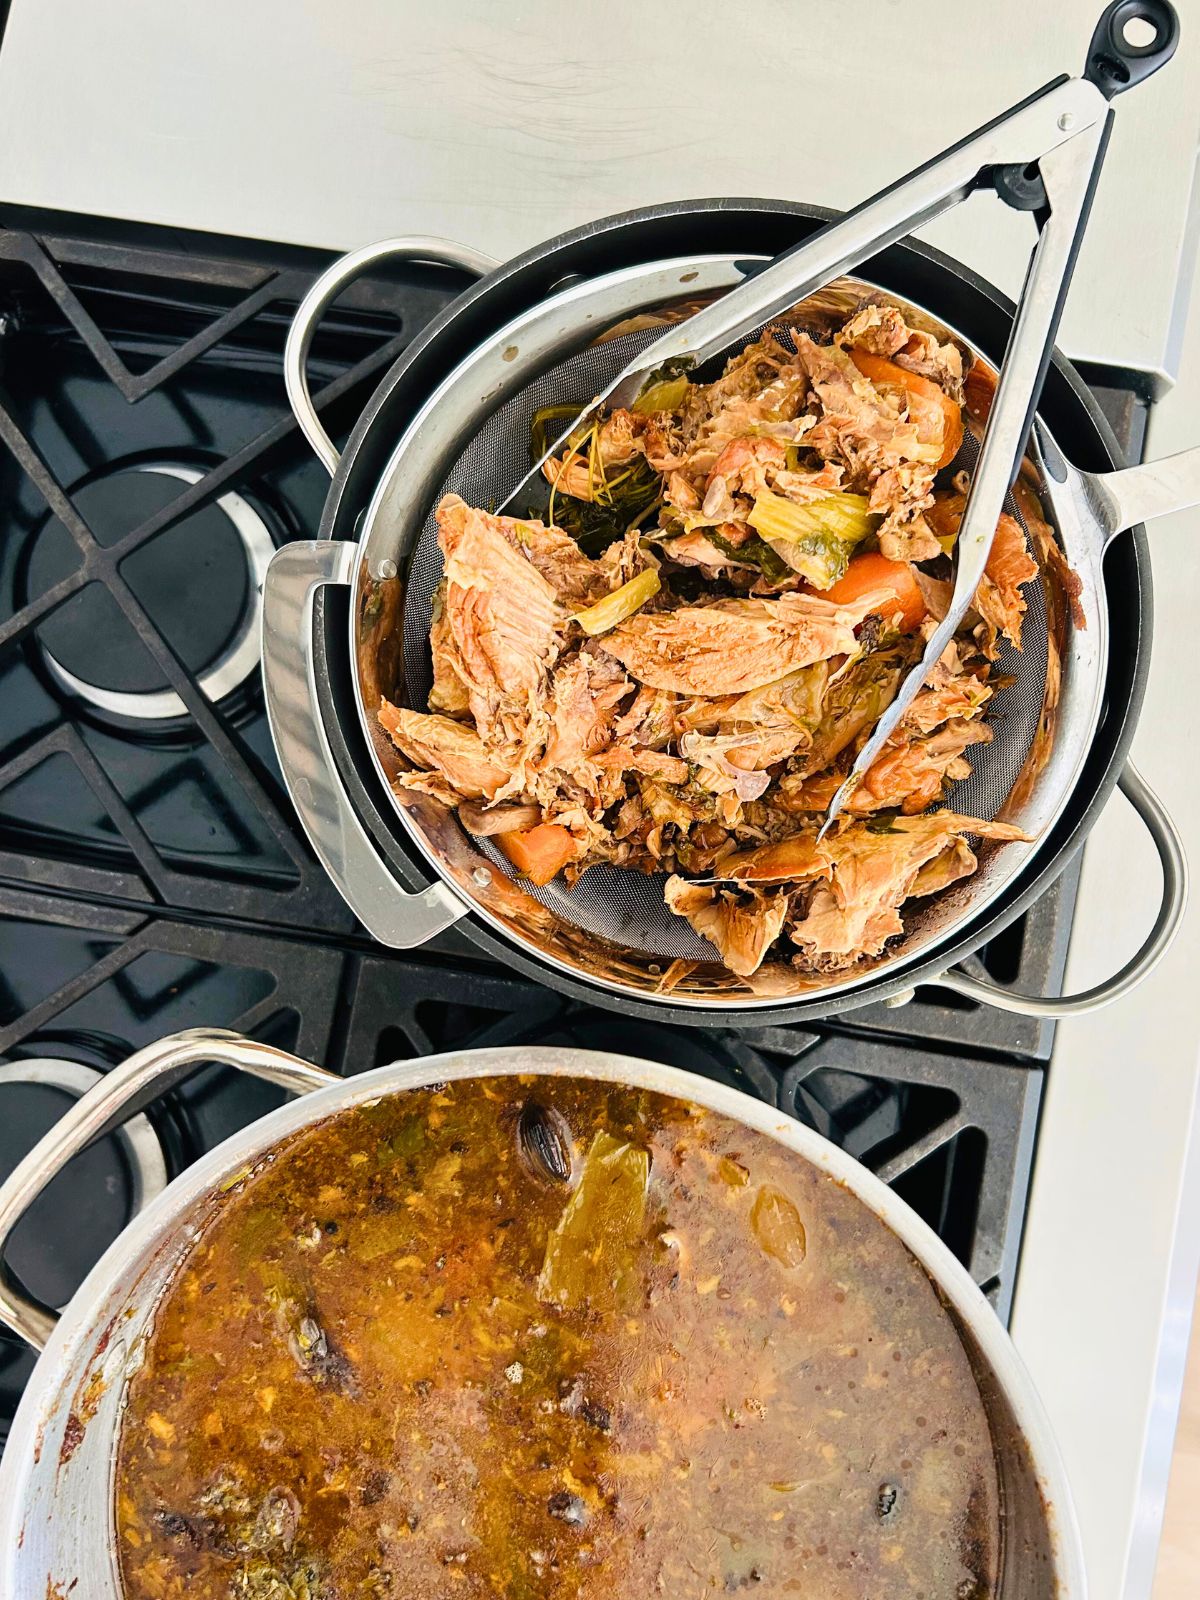
Step 8: Turn off the burner. With a fine mesh strainer over a second stock pot, use tongs to transfer the bones and vegetables to the strainer. Allow them to drain naturally rather than pushing down on them to prevent clouding your stock. The bones and vegetables are exhausted and can be disposed of. Continue this process until most of the large parts are removed. Then, pour the remaining stock through the strainer.
If you are using the stock the same day, keep it over a simmer until ready to use.
How to Store Chicken Stock

Cooling Instructions
- Cool to room temperature by placing the pot in an ice bath or cold water in the sink, and refresh the water if you don't have ice.
- Finish chilling the stock in the refrigerator overnight, uncovered.
- Skim the fat off the chilled stock.

Refrigerator
- Portion 1 cup of stock for sauces in a quart zip-lock and 1 quart of stock for gravy and soups in a gallon-sized zip-lock.
- Store in the fridge for up to 3 days.
Freezer
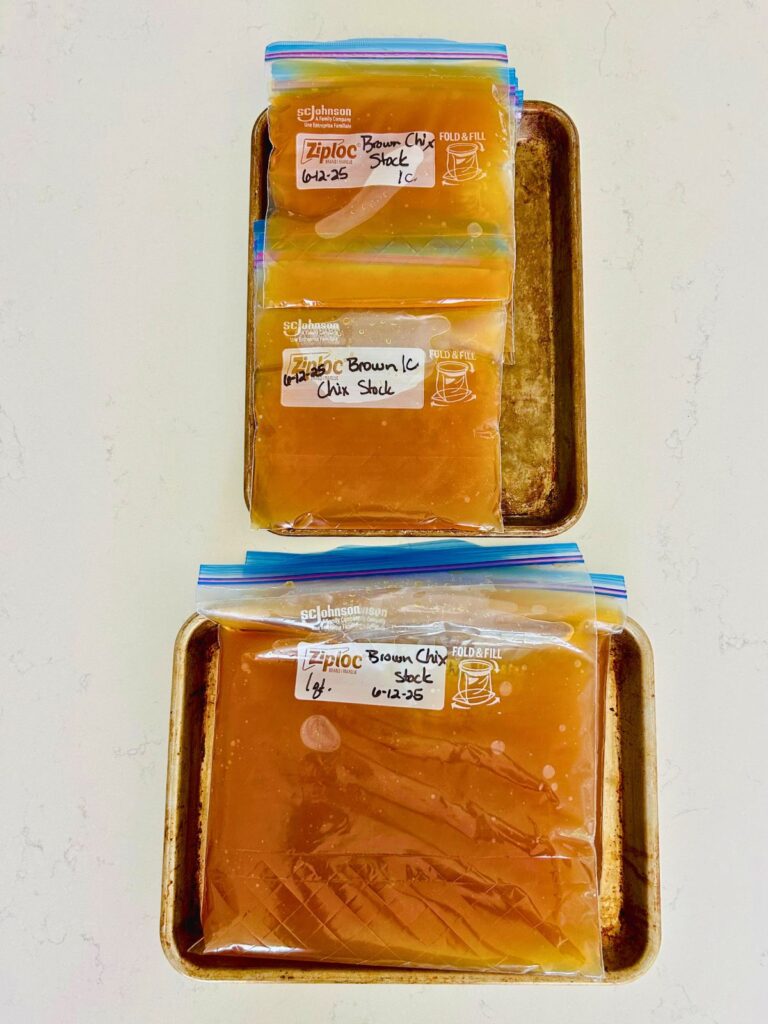
- Scoop chilled portions into freezer zip-lock bags and remove as much air as possible.
- You can also use canning jars (leave head space for expansion) or ice cube trays.
- Label the bags with the description, quantity, date, and freeze for up to 6 months.
- I like to lay the bags on a small cookie sheet until frozen because they are easier to store.
FAQ
Use a combination of chicken backs, necks, wings, and carcasses from roasted chickens and turkeys. Bones with some meat still attached work, too.
Save the bones and scraps of meat from chicken and turkey in freezer bags until you are ready to make stock. The bones can be raw or cooked. Store them in the freezer for up to 6 months until you have enough bones to make a batch of stock.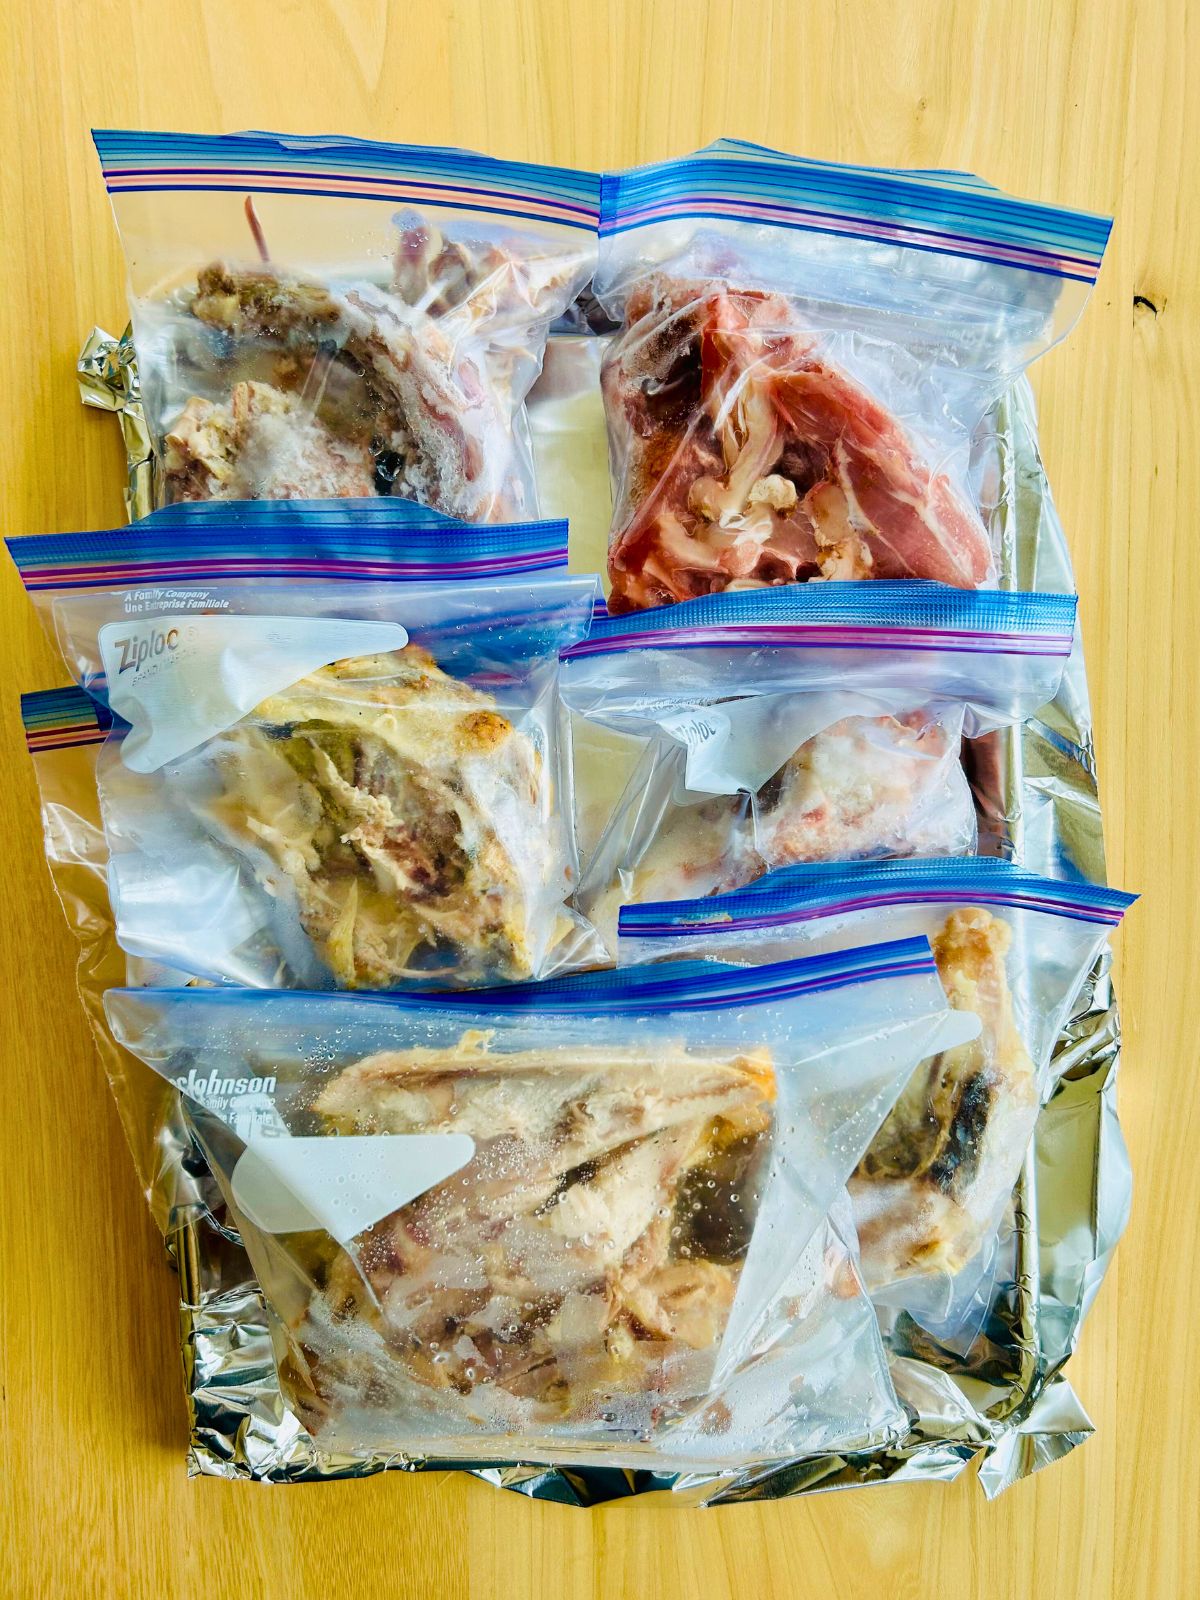
Yes! Just use the bones only, not the skin or the salty drippings from the container.
The bones should be soft and easily break apart, and the liquid should have reduced by about 25-30%. Taste it with a spoon and a pinch or two of salt added.
Serious Eats references that the USDA labeling guidelines do not distinguish between the two. They also mention from a chef's perspective, a stock remains gelatinous when chilled, whereas a broth remains liquid.
Try adding salt to yours separately from the pot to see if the taste improves. If it's still bland, you can continue simmering the stock further to concentrate its flavor. No salt is added to stock because every recipe you use the stock in will have varying degrees of salt. You don't want to overseason the dish as it reduces.

Did you try any of these tips? Leave a comment below to let us know how it turned out! Thanks for visiting!
📖 Recipe

Brown Chicken Stock
Equipment
- 2- 2 gallon stock pots
- 1- 18 by 13-inch cookie sheet
- scale
- butcher string (optional)
- fine mesh strainer
Ingredients
- 3½ pounds chicken and turkey bones
- 14 ounces onions, peeled (about 2-3 medium-sized)
- 7 ounces celery (about 4 medium stalks)
- 7 ounces carrot, peeled and trimmed (about 3-4 medium )
- 1 ounce fresh Italian parsley with stems
- ½ ounce fresh thyme with stems
- 4 bay leaves
- 1 tablespoon black peppercorns
- 6 cloves garlic, peeled
- ¼ cup tomato paste
- 10 cups cold water
Instructions
- Preheat oven to 400℉.
- Spread out the frozen or fresh poultry bones on a cookie sheet.
- Cook 30 minutes in the oven until they start to develop color.
- While the bones are roasting, peel and trim the onions, carrots, and celery into 2-inch chunks. Don't use the yellow inside of the celery because it is bitter.
- After 30 minutes of roasting the bones, stir the bones with tongs. Then, add the onions, carrots, and celery to the bones on the same cookie sheet. Roast for about 45-60 minutes longer. Make sure the bones are very brown before removing them from the oven.
- Transfer the bones and roasted vegetables to a 2-gallon stock pot. Add a cup of warm tap water to the cookie sheet. If the bits are black and charred, skip scraping them into the stock pot as they will create a bitter finish. Otherwise, scrape the brown bits from the cookie sheet with a wooden spoon to loosen them. Add this water to the pot of bones.
- Use butcher string to tie the fresh herbs together in a bundle. This optional step helps make it easier to skim later.
- Add the water, herbs, garlic cloves, and tomato paste to the pot. Turn the burner to medium-high and start to bring to a gentle boil, then turn the burner down to maintain a strong simmer for 4-5 hours while skimming the foam and solids from the top every 15 minutes for the first hour. Don't let it boil vigorously because it can make your stock cloudy. Reduce the stock by 25%.
- Turn off the burner. With a fine mesh strainer over a second stock pot, use tongs to transfer the bones and vegetables to the strainer. Allow them to drain naturally rather than pushing down on them to prevent clouding your stock. The bones and vegetables are exhausted and can be disposed of. Continue this process until most of the large parts are removed. Then, pour the remaining stock through the strainer. If you are using the stock the same day, keep it over a simmer until ready to use.
- To refrigerate, cool to room temperature by placing the pot in an ice bath in the sink or with cold water around the pot, refresh the water twice if you don't have ice. Once cooled to room temperature, finish chilling the uncovered stock in the refrigerator overnight. Skim the fat off the chilled stock. Store in the fridge for up to 3 days.
- To freeze, scoop chilled portions into freezer zip-lock bags and remove as much air as possible. I like to portion 1 cup for sauces and 1 quart for gravy and soups. Label the bags with the description, quantity, date, and freeze for up to 6 months. Lay the bags on a small cookie sheet until frozen because they are easier to store.
Video
Notes
Nutrition
The provided nutritional information is an estimate per serving. Accuracy is not guaranteed.

Comments
No Comments