
Cornish hens look impressive on the table, they're the right size for a dinner party, and they should be easy. But if you've made them before, you know the reality: dry, overcooked meat that takes forever to pick off the bones.
I stopped cooking them for years. Then I changed three things: split the birds in half, dry-brine them overnight, and slow-roast them low and slow before a quick finish under the broiler. That was it.
This Cornish hen recipe gives you an elegant presentation and crisp, golden skin without dried-out breast meat. No more stressing about how to cook this dinner party chicken without messing it up.
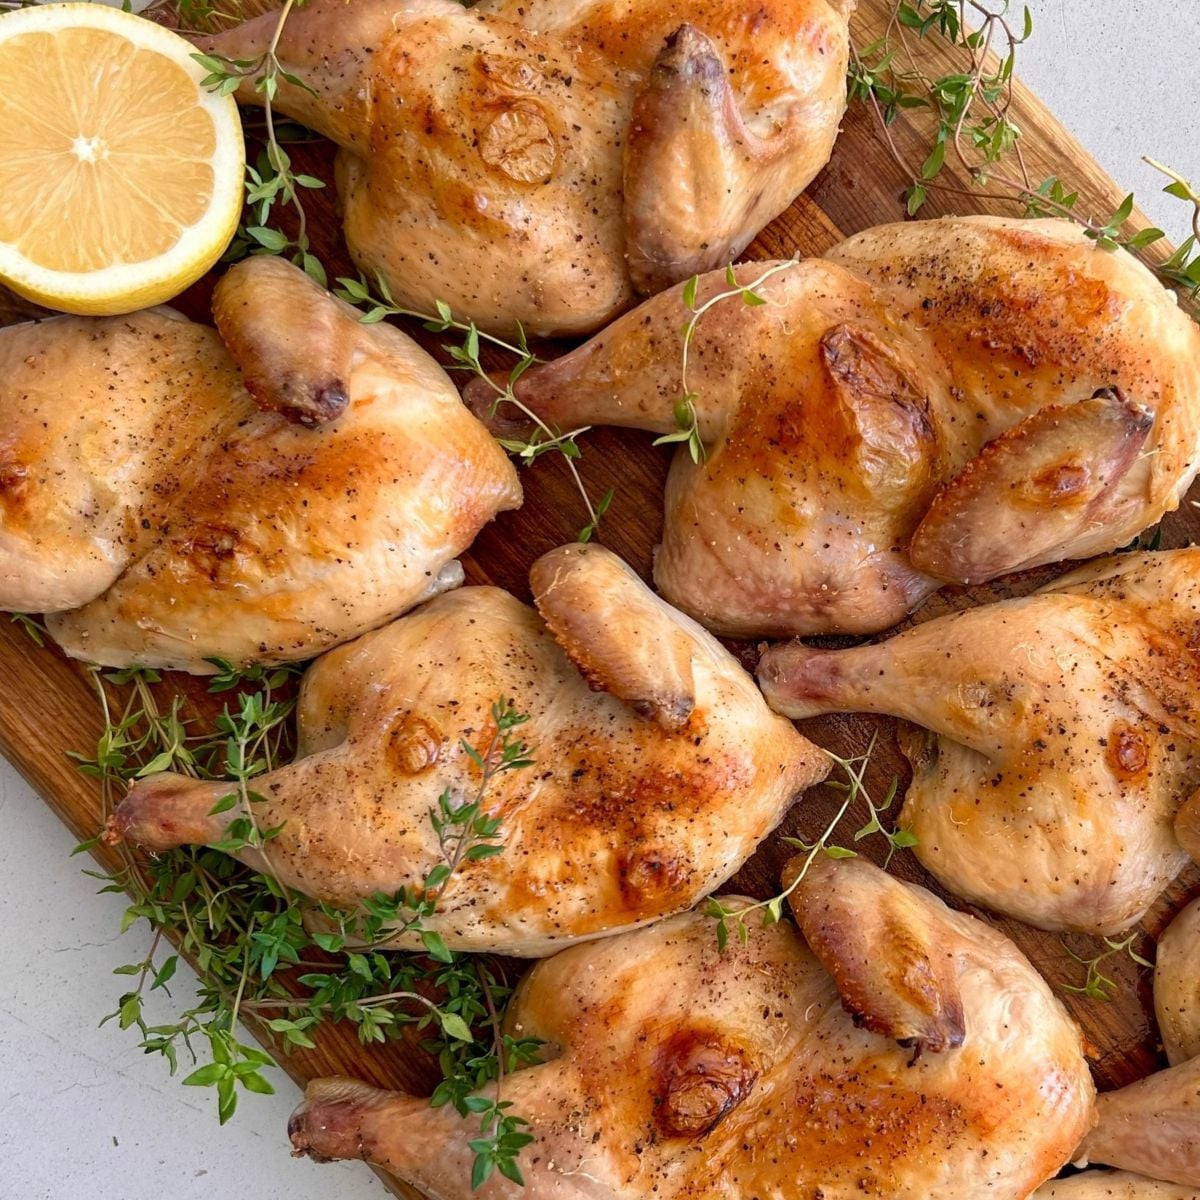
During the pandemic, I cooked Cornish hens the traditional way, in a 350℉ oven and told myself I was done making these. A little bird, a lot of bones, and they easily overcook. It didn't feel like a win for my family or for me.
Turns out, reverse searing split hens was the fix. It's the same method behind my slow-roasted prime rib and my tomahawk steaks, and the results are excellent. It works because low heat gives you more control than a hot oven.
Jump to:
Why This Recipe Is Different
- Slow roast at 225°F: Cornish hens are small, around 1.5 pounds each, which means they can go from just right to overcooked very quickly at higher temperatures. Low and slow gives you better control.
- Split the hens in half: Flat pieces cook evenly and brown better when finishing them under the broiler.
- Dry-brine overnight: To season the meat all the way through, not just the surface. The salt also keeps the birds juicy during cooking.
- Finish under the broiler (or on a hot grill): To create that crackly bronze skin in just a few minutes without drying out the meat underneath.
Why Reverse Searing Is The Best
Reverse searing is the best way to cook a Cornish hen because a low-and-slow oven gently brings the internal temperature up evenly with less carryover cooking. A quick, high-heat finish under the broiler or on the grill continues to brown and crisp the skin without overcooking the interior.
If you have a pellet smoker, like a Traeger, use it to slow-roast and smoke the hen at 225℉ instead of the oven. The smoke adds another layer of flavor, and the results are excellent every time.
Ingredients
You only need 3 ingredients and kitchen shears to make the best Cornish game hens!
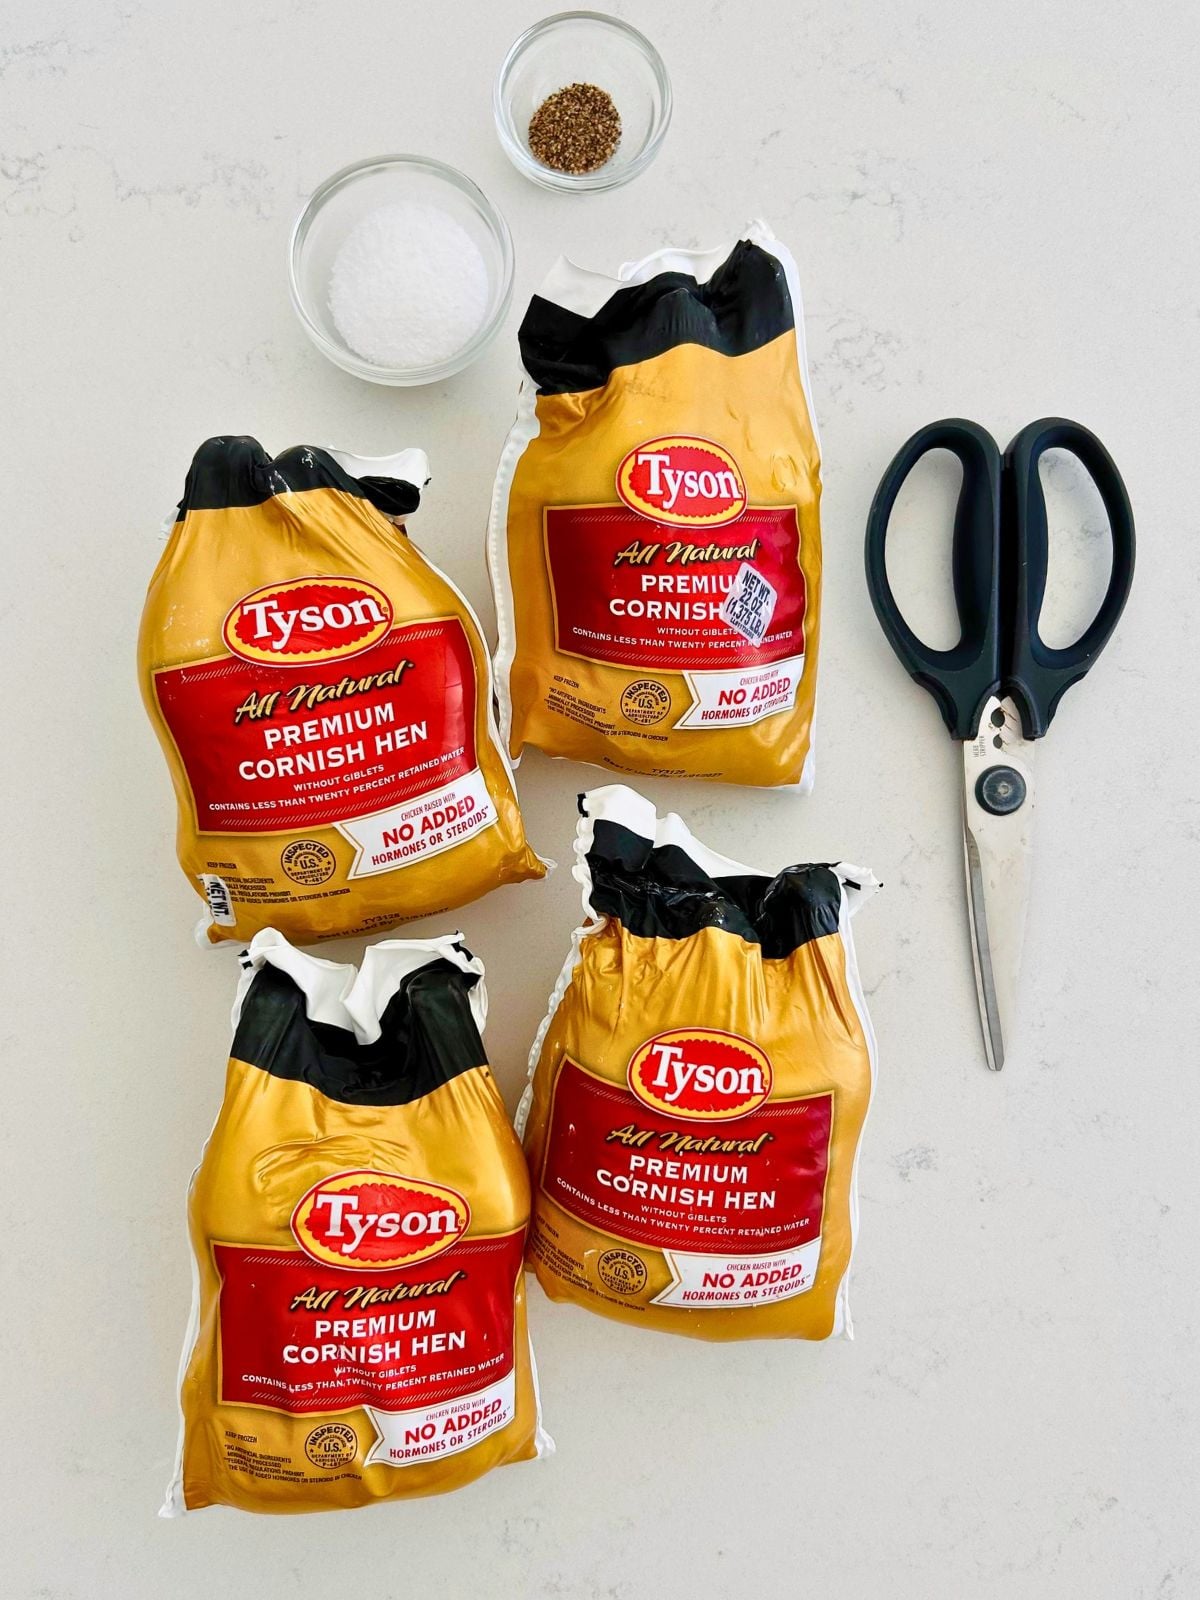
- Cornish Hens: Plan on 4 hens for 4 large servings (one half per person if serving with other courses, one full bird for bigger eaters). Buy them frozen and defrost in the refrigerator 2 days ahead.
- Diamond Crystal Kosher Salt: This is the brand I use and recommend. If you're using Morton's, cut the amount by about 50%.
- Black Pepper: Freshly ground.
See the recipe card below for ingredient measurements.
Equipment
Leave-in probe meat thermometer: This is non-negotiable for the low-and-slow roast. You need to know when the birds hit 155°F without opening the oven every 10 minutes. I use my leave-in probe thermometer in these small birds.
13 x 18-inch rimmed baking sheet: Standard size. If your hens are crowded, use a second sheet.
Metal cooling rack: Elevates the birds so air circulates underneath for drying overnight and roasting. Spray it with non-stick cooking spray before you salt the hens.
Kitchen shears or a good knife: For removing the backbone and splitting the hens. If you're new to butchering, Cornish hens are the place to start. They're small, and the shears do most of the work. A knife is not necessary.
Step-by-Step Instructions
Dry-Brine (DAY 1)
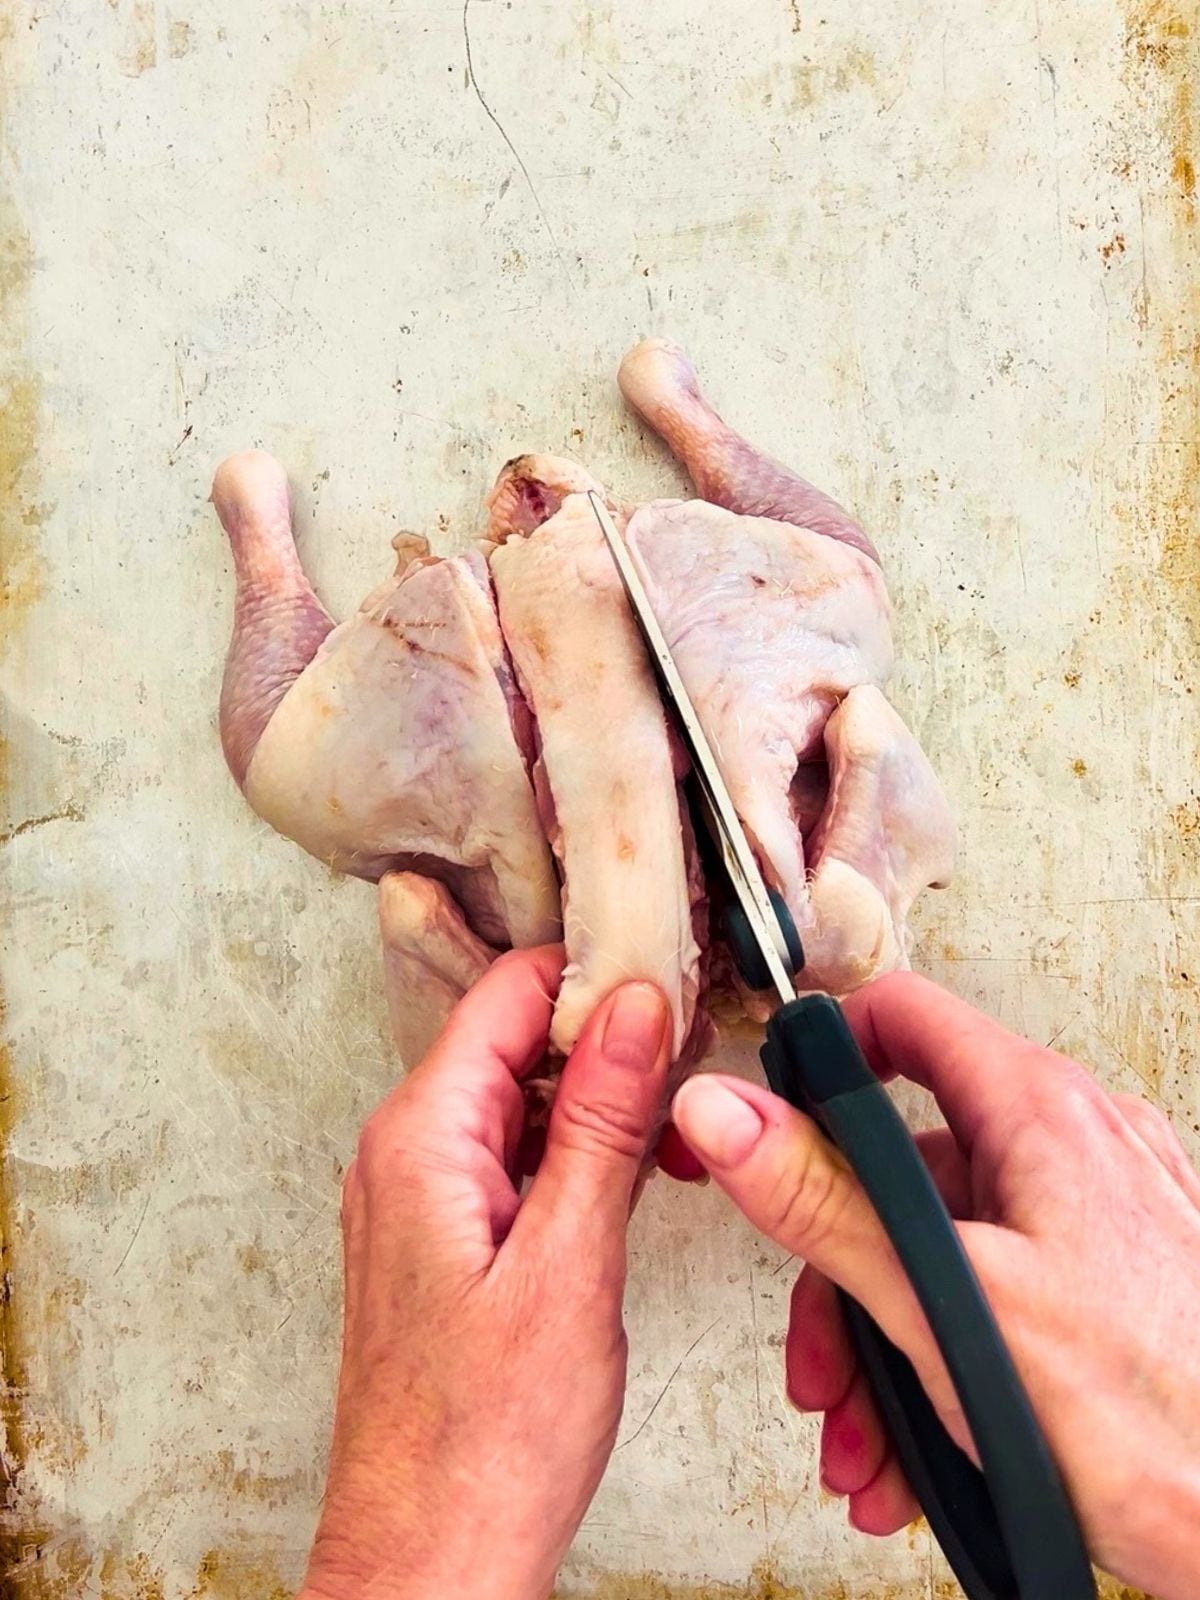
Step 1: Unwrap the hens and pat them dry with paper towels. Place them on a cutting board or rimmed baking sheet. Using kitchen shears, cut along each side of the backbone to remove it.
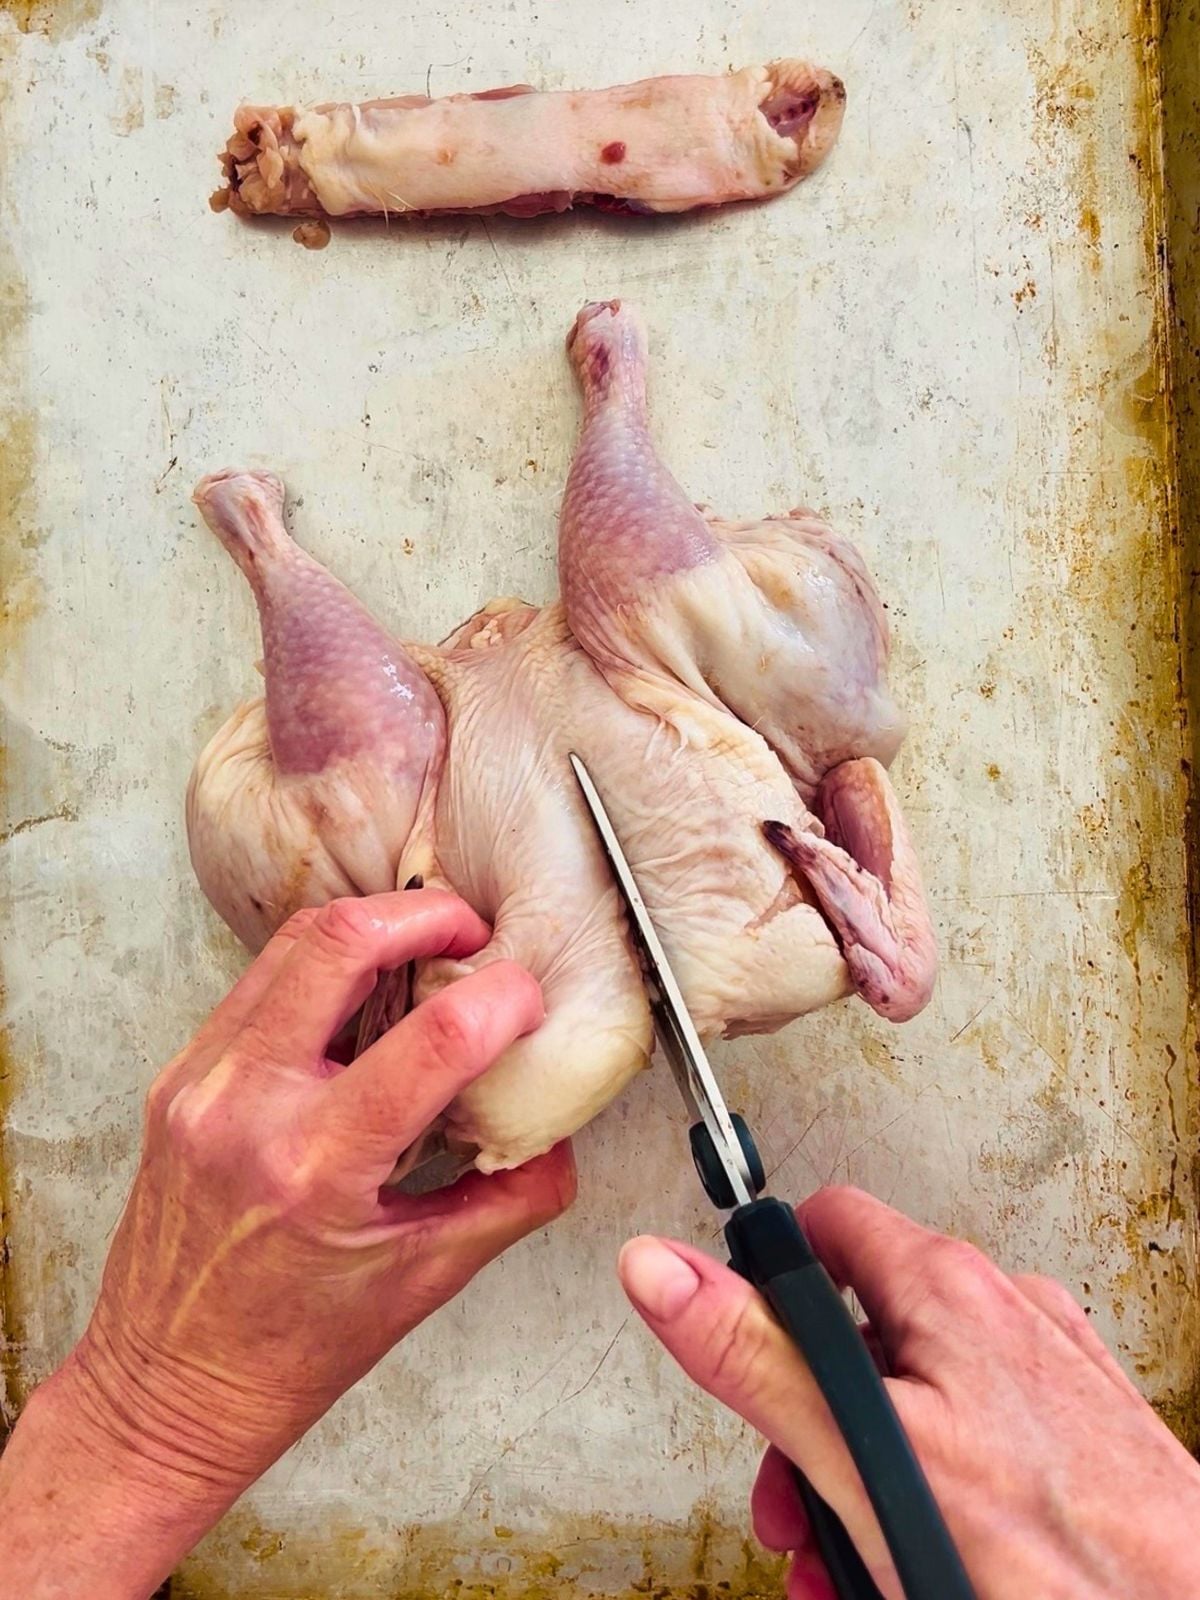
Step 2: Split each hen in half by cutting straight down between the breasts, starting at the top where the wings are located.
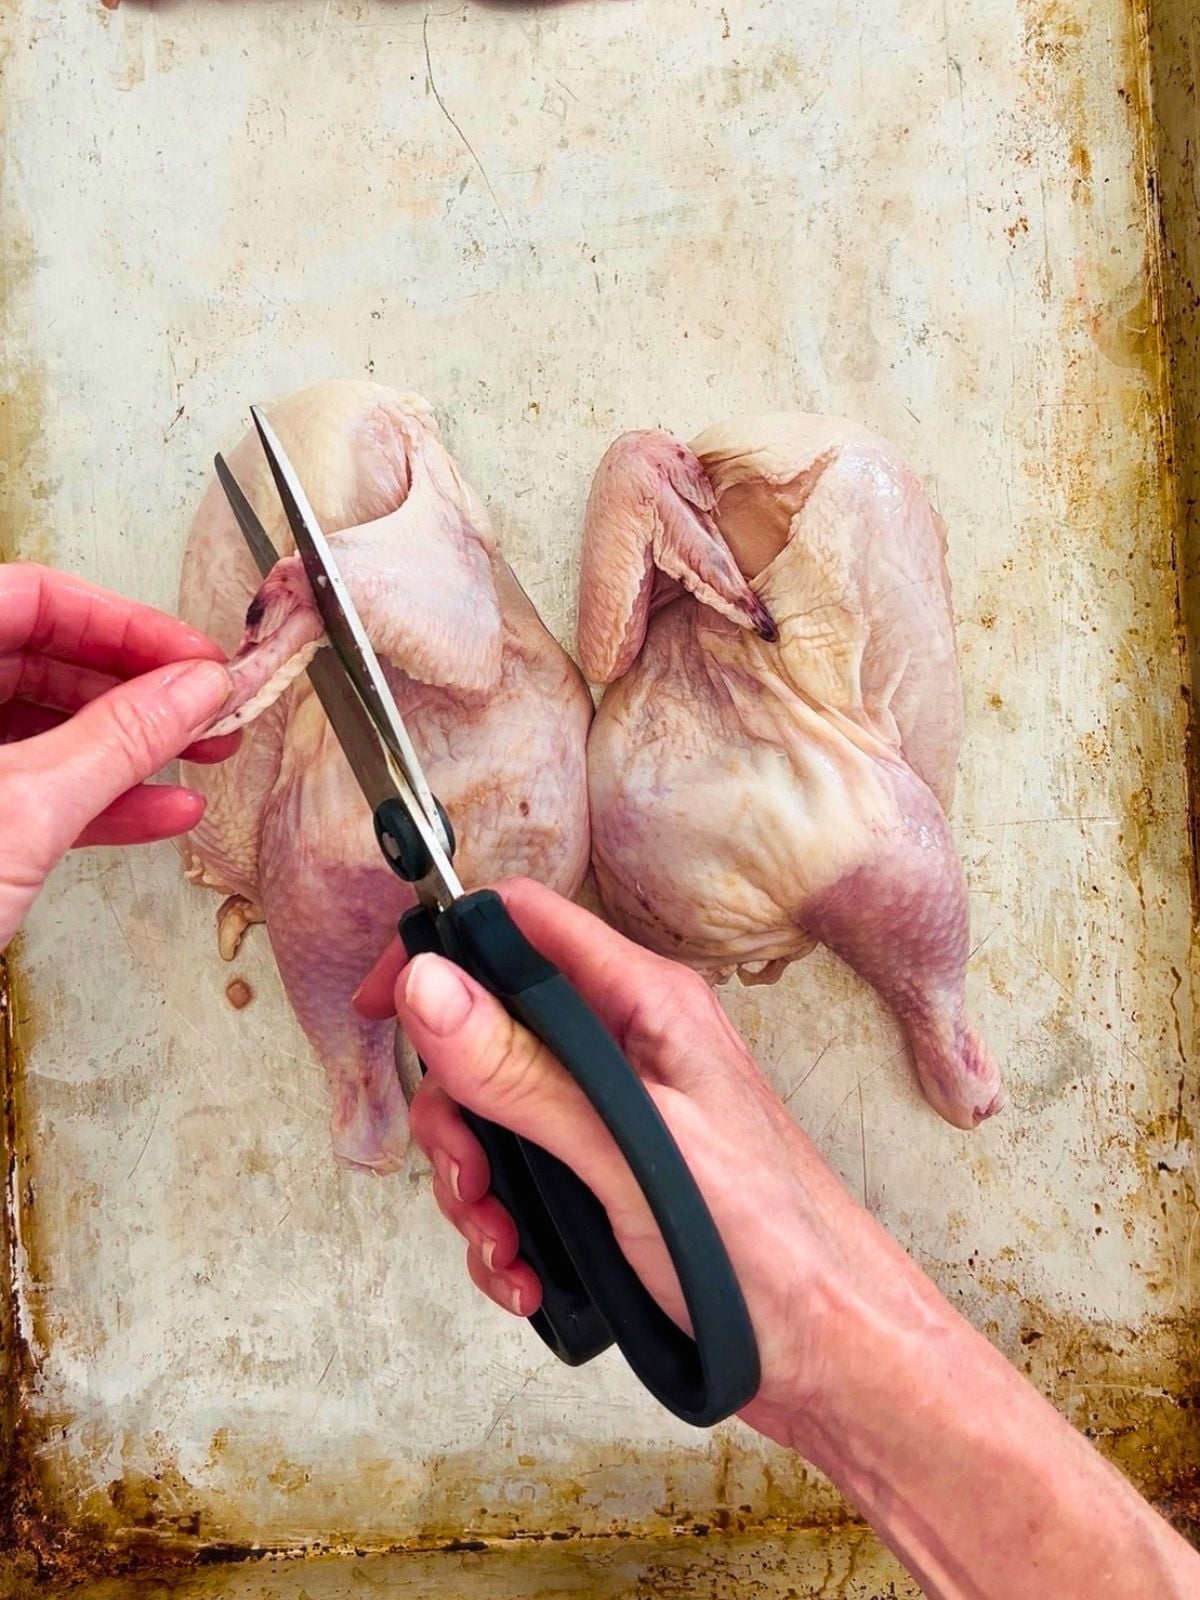
Step 3: Clip off the wing tips; there's no meat on them, and they burn under the broiler.
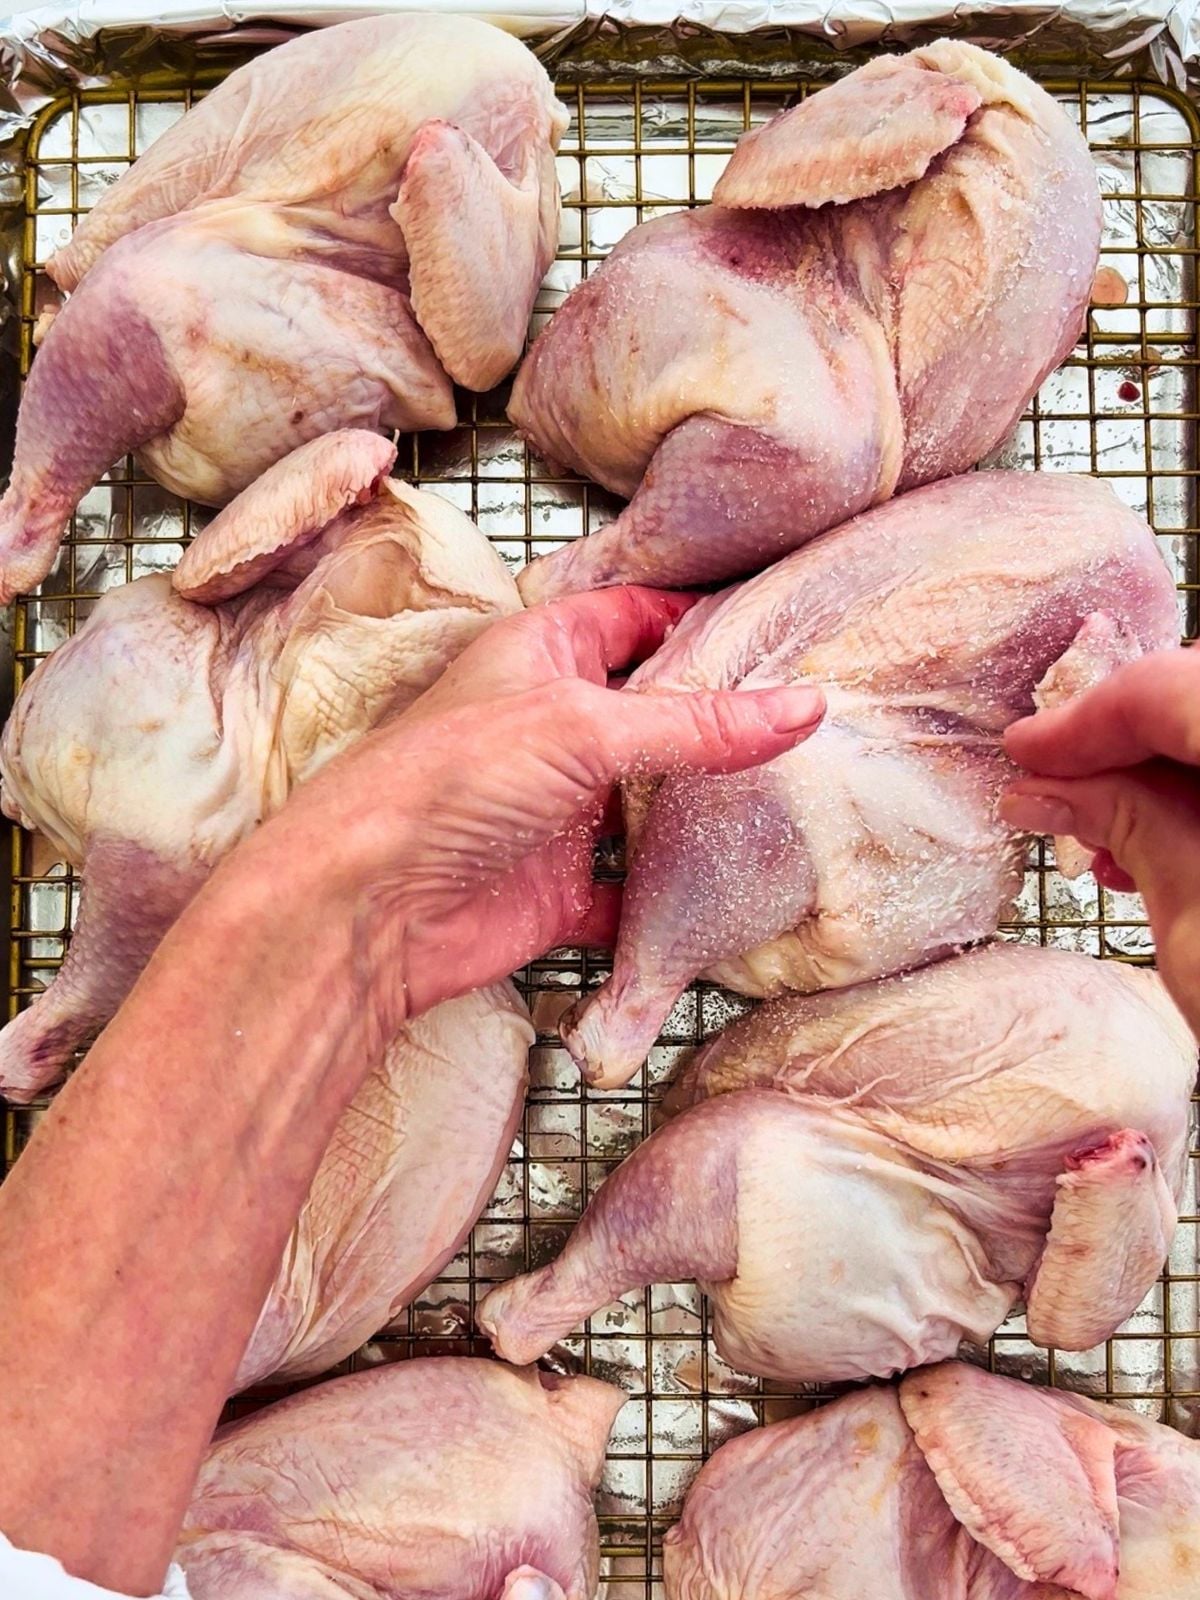
Step 4: Line your rimmed baking sheet with aluminum foil, place the wire rack in the pan, and spray with non-stick cooking spray. Arrange the split hens on the rack so that they don't touch each other. If it's too crowded, use a second sheet pan and rack.
Sprinkle ¾ teaspoon of Diamond Crystal kosher salt evenly over each half, covering all sides. Season with black pepper. Place the pan uncovered in the refrigerator for 18-24 hours.
Tip: You can dry brine up to 48 hours in advance. After the first 24 hours, cover the hens loosely with plastic wrap. They're small birds, and the exposed meat will start to dry out if left uncovered longer than that.
Day Slow Roast and Broil (Day 2)
Place the oven rack in the center of the oven and preheat to 225°F.
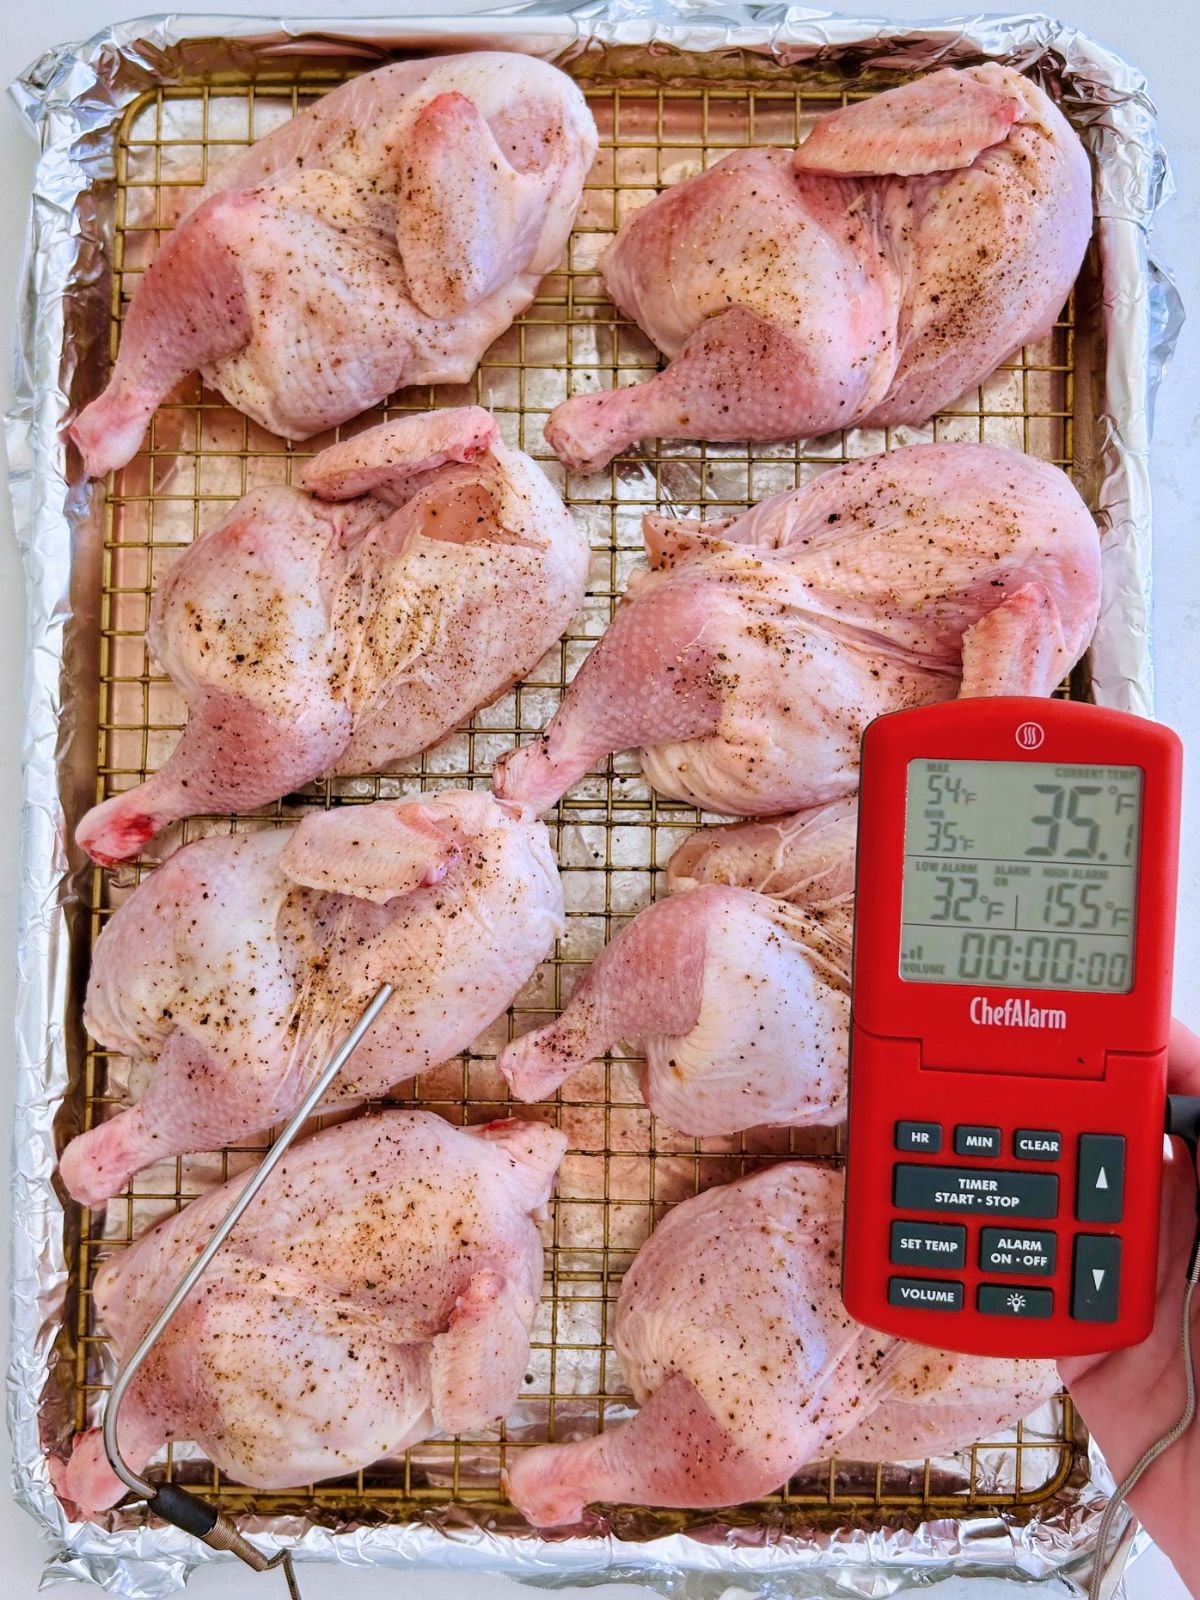
Step 5: Remove the hens from the refrigerator. Insert the probe of your leave-in thermometer into the thickest part of the breast, with the probe's tip close to the wing joint.
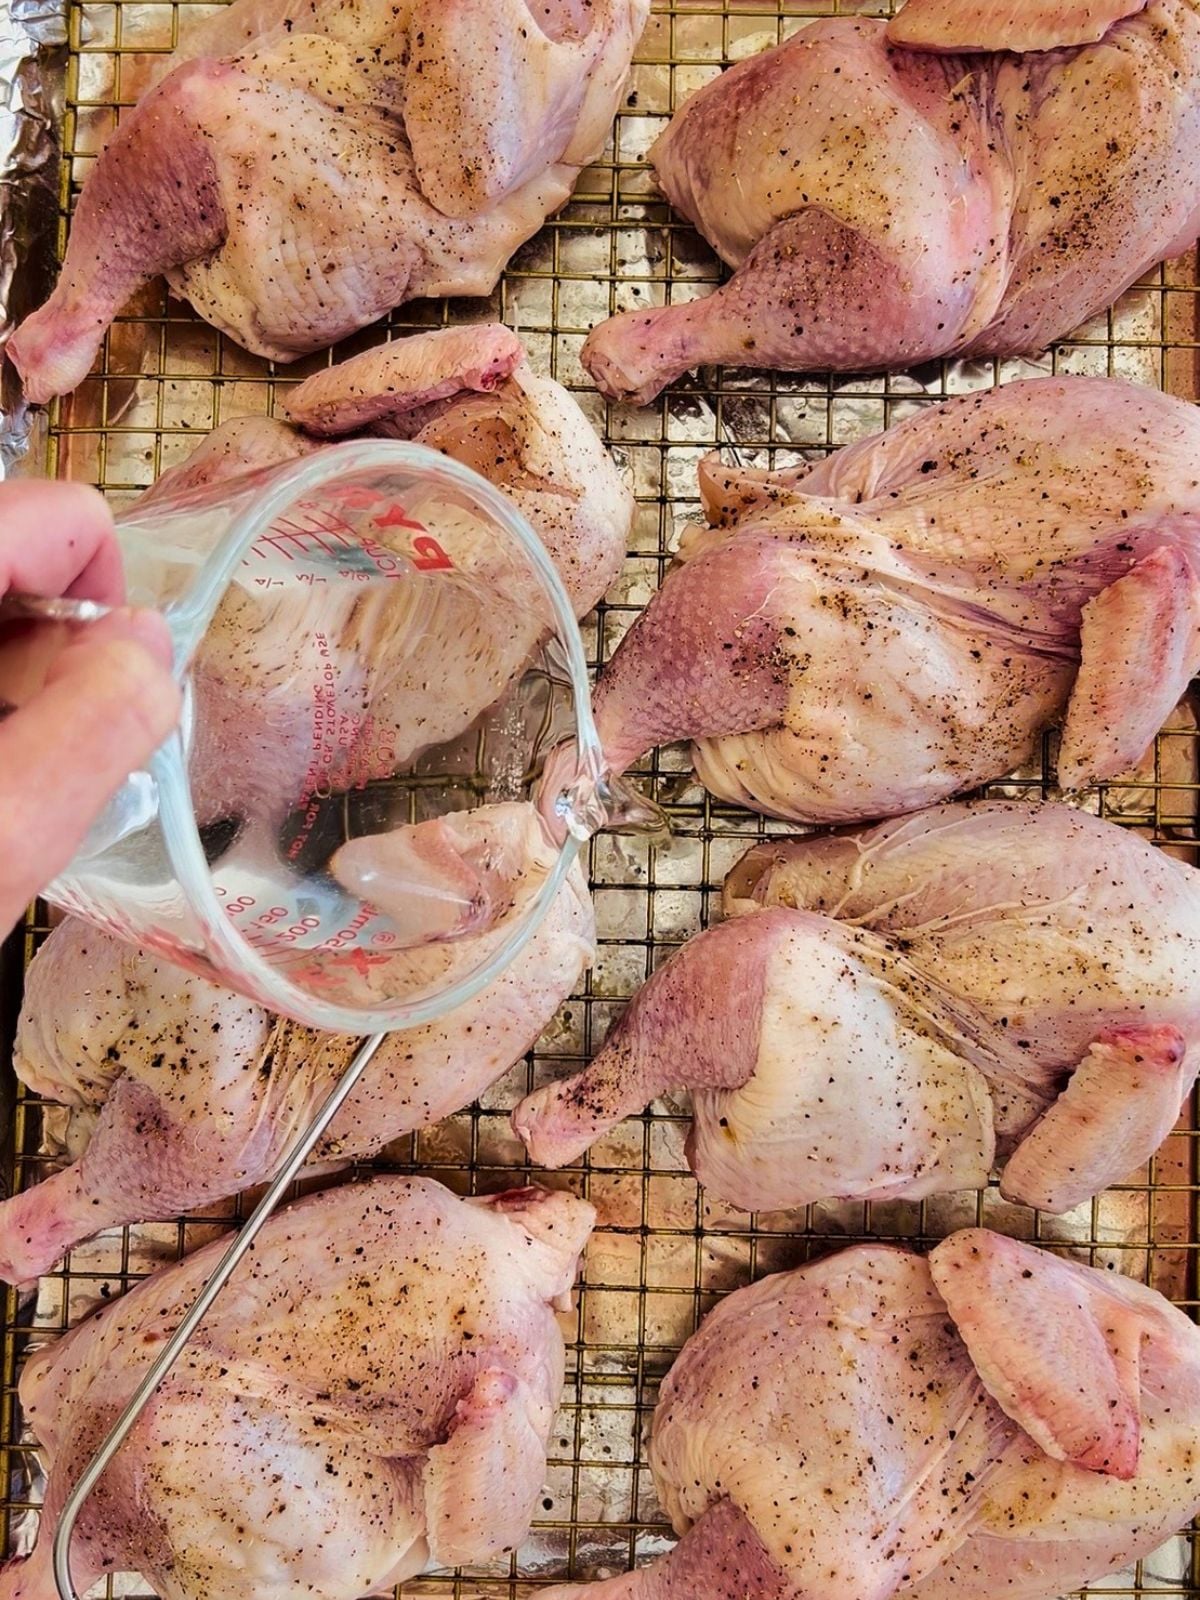
Step 6: Pour 1 cup of water into the bottom of the pan. The water promotes steam and keeps the drippings from smoking when you switch to the broiler. Roast until the internal temperature reaches 155°F, about 1 hour and 10 minutes.
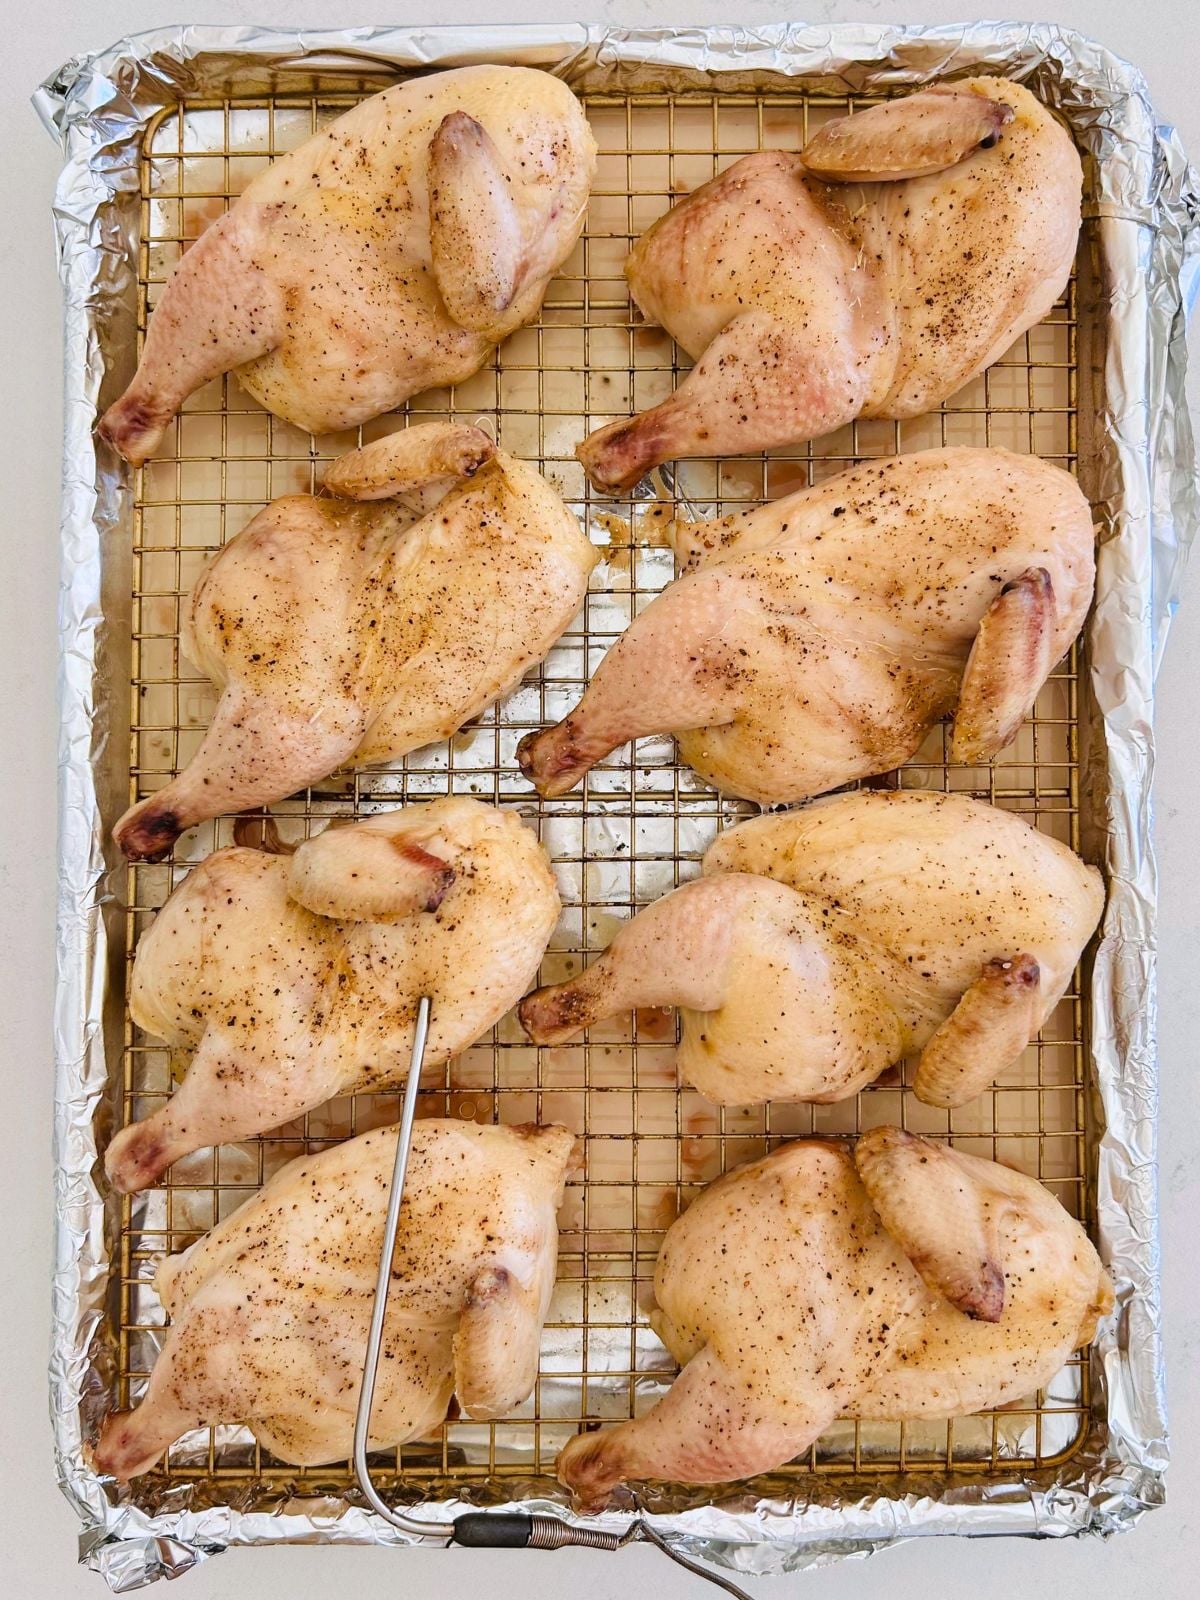
Step 7: Remove the hens from the oven and pull out the thermometer. Raise the oven rack to 6 inches below the broiler heating element and set the broiler to high. Let it preheat for a full 10 minutes. Don't skip this.
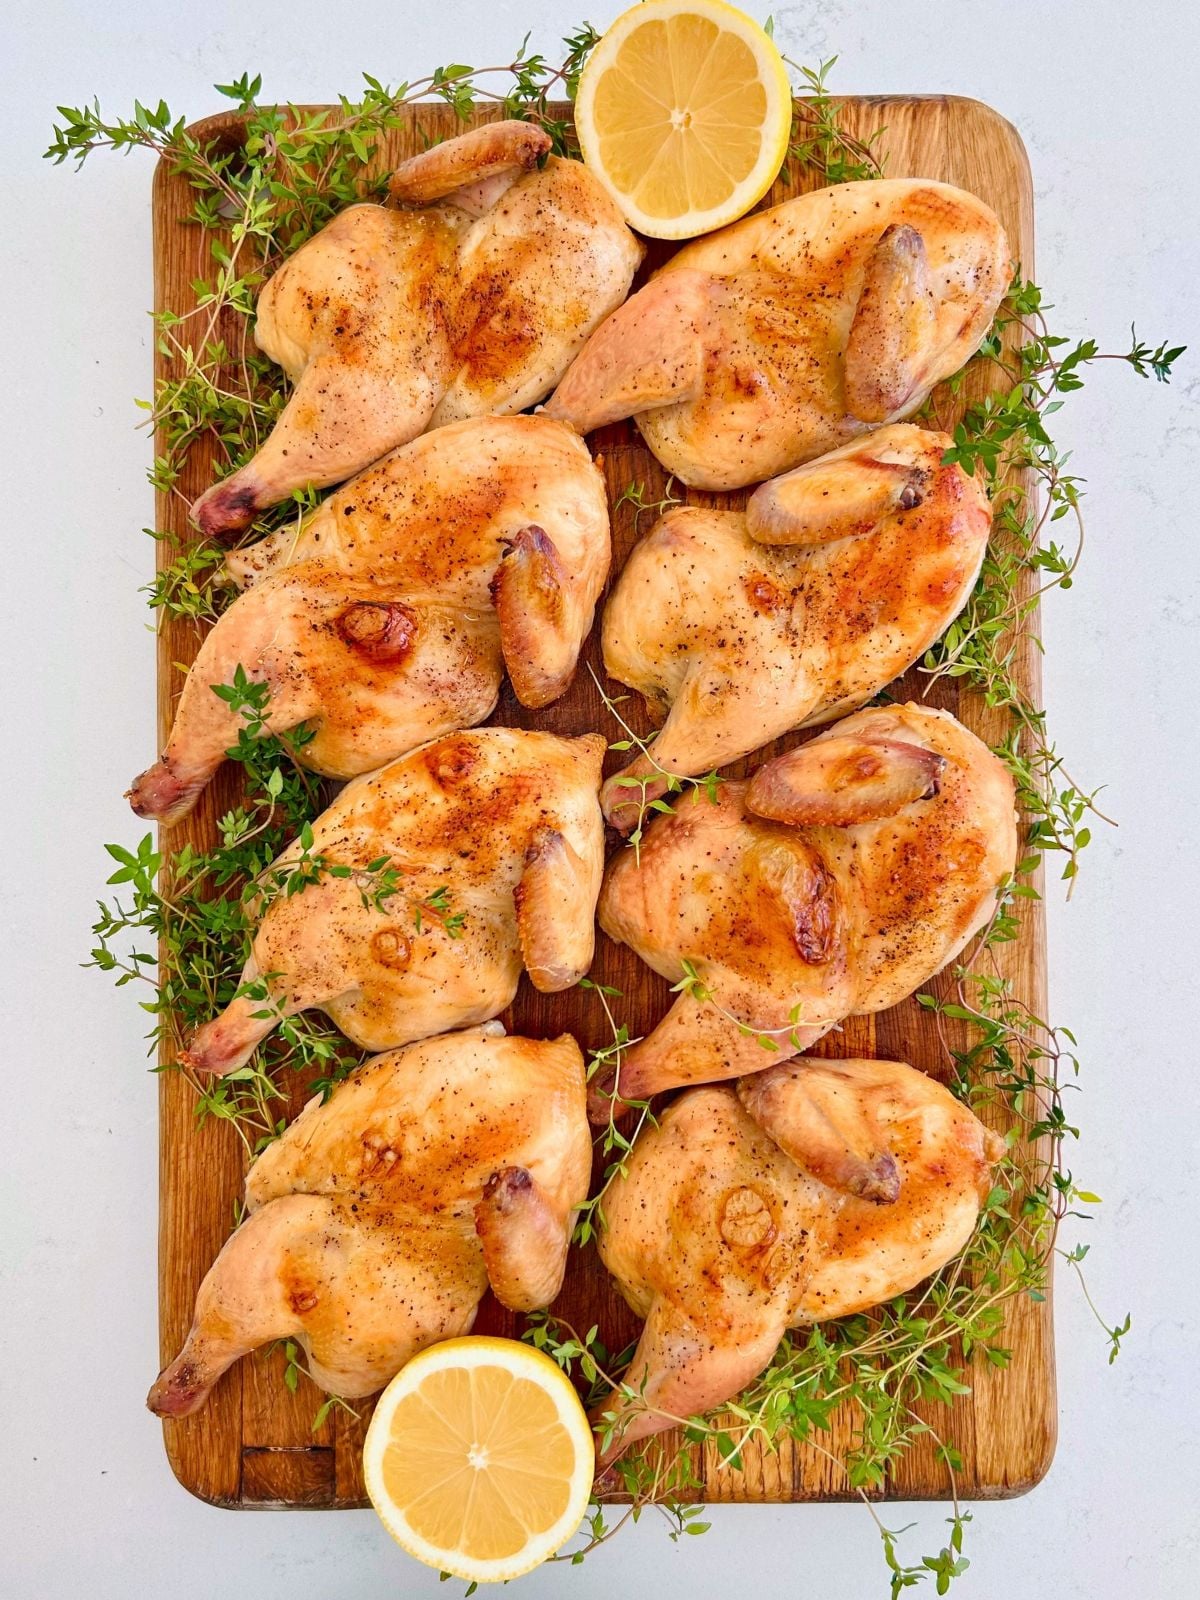
Step 8: Return the hens to the oven and broil for 3-5 minutes until the skin is golden and crispy. If needed, rotate the pan halfway through for even browning. No resting time needed. Serve immediately.
Top Tip
Clip the wing tips. No meat, guaranteed burning, and they don't look great anyway. Take 5 seconds and cut them off before you season.
Preheat the broiler completely. A fully preheated broiler browns the skin in minutes. A cold or barely warm broiler takes longer to brown and dries the birds out. Give it the full 10 minutes.
Variations
Grill option: If you're making these in spring or summer, the grill browns them better than the broiler. After the slow roast, move the split hens skin side down onto a hot grill for a few minutes.
Glazing: You can brush the hens with BBQ sauce before the broiler step. Watch closely because the sugar burns fast. Korean BBQ sauce and a cider glaze are on my list to test next.
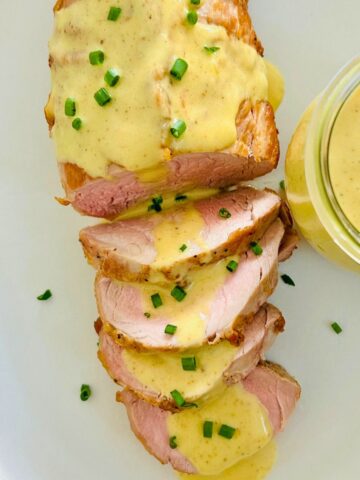
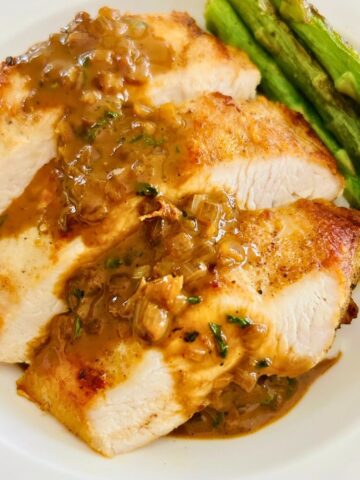
Sauce ideas: My turkey gravy without drippings works beautifully if you want a traditional meal. For something different, try a spoonful of chimichurri with cilantro and parsley or a drizzle of miso butter sauce for an Asian-style twist.
Sides while your oven is tied up: My chipotle sweet potato puree and broccoli with creamy lemon sauce can both be made in the microwave, so your oven stays free for the hens. For more ideas, browse the full collection of side dish recipes.
Hosting Game plan
The crackly skin will only stay crispy for about an hour. Do not broil until right before you're ready to plate.
Day 1 (2 days before): Defrost the hens in the refrigerator. This takes 1-2 days.
Day 2: Split, season, and refrigerate the hens uncovered. Active time: 15 minutes.
Day 3 (dinner at 7:00 PM example):
- 4:45 PM: Pull hens from the refrigerator. Preheat oven to 225°F.
- 5:00 PM: Pour water in the pan, insert thermometer, and start roasting.
- 6:10 PM: Hens should hit 155°F. Remove from oven.
- 6:00-6:40 PM: Rest on the stovetop rack. Prep and cook your sides.
- 6:40 PM: Move oven rack to 6 inches below broiler. Set to high. Preheat 10 minutes.
- 6:50 PM: Broil for 3-5 minutes to brown the skin.
- 6:55 PM: Plate and serve.
Total active time Day 2: About 20 minutes, spread out.
Storage & Reheating Information
Cornish hens are best eaten right after cooking. The skin won't stay crispy once they're stored.
To Store: Cover and refrigerate leftovers for up to 3 days.
To Reheat: The microwave is the easiest option here. Reheat in 30-second increments to avoid overcooking the meat. For the oven, reheat at 325°F for 10-12 minutes.
Freezing: Freeze in an airtight container for up to 3 months. You can also shred the meat from the bones and freeze in a zip-top bag for a soup like my Mexican chicken soup. The carcass is worth saving for stock.
FAQ
Yes. The reverse sear method still works for whole hens. You can also cook them spatchcocked by removing the backbone and flattening the hen. I prefer split halves because they're a pretty presentation and brown more evenly under the broiler.
It's optional, but it makes a real difference. The salt seasons the meat all the way through and helps the skin dry out for better browning. If you're short on time, even 2-4 hours in the fridge helps. Pat the skin dry before roasting.
Two reasons. It adds a little moisture to the oven during the slow roast. More importantly, it keeps the drippings from burning and smoking when you switch to the high-heat broiler.
Trust the thermometer, not the clock. 1 hour and 10 minutes is a guideline based on my oven. Use the internal temperature of 155°F as your target and check the birds starting at the 50-minute mark and every 5 minutes after. The broiler step will bring the temperature up more.
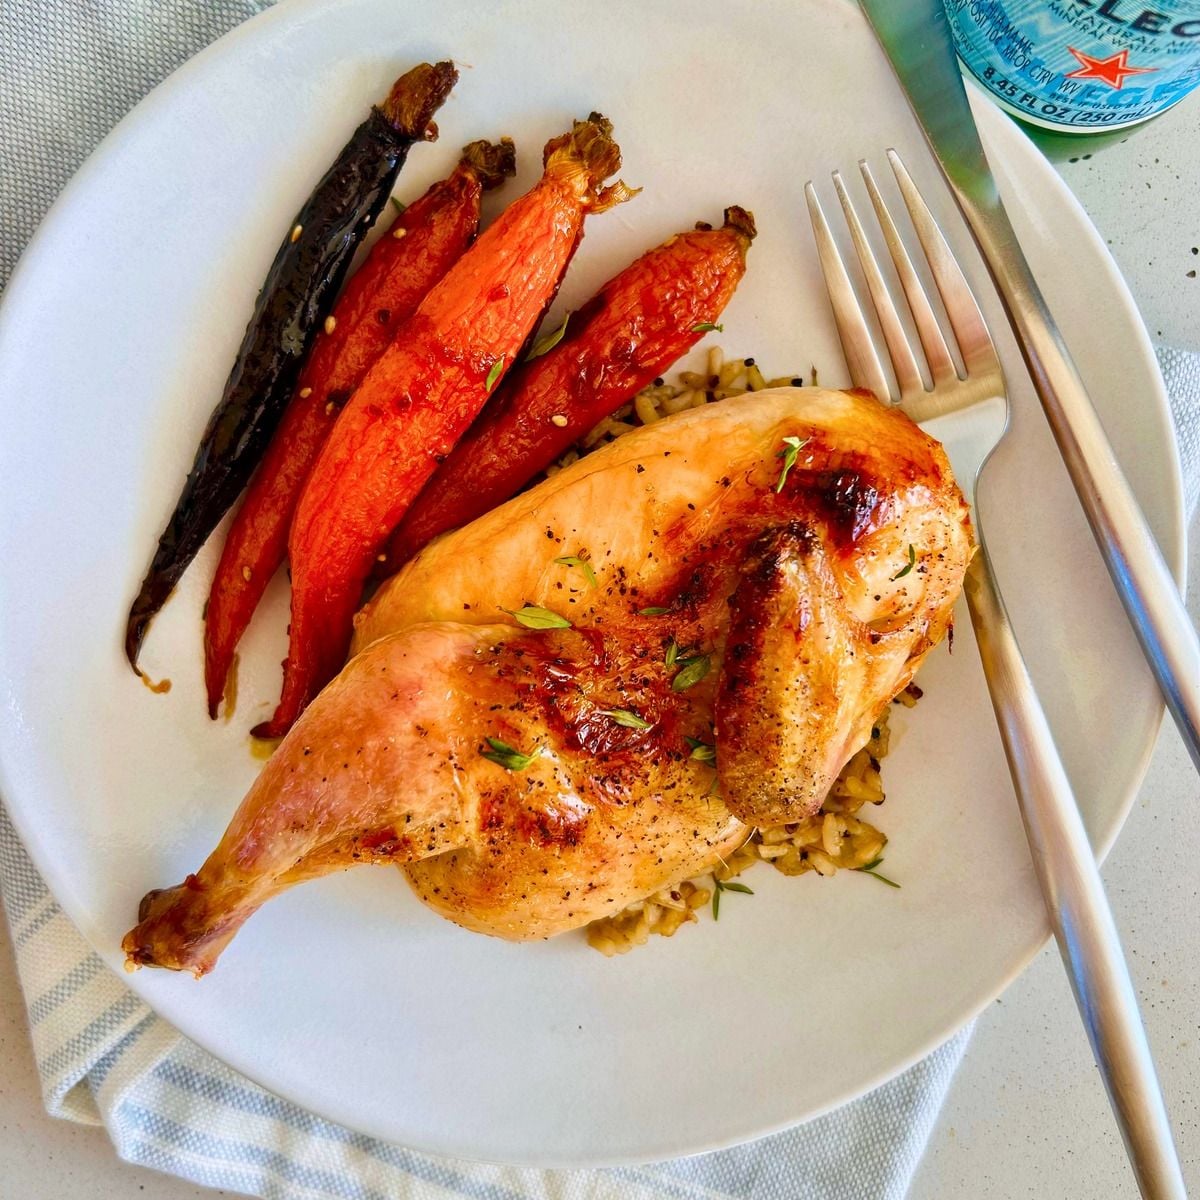
Did you try any of these tips? Leave a comment below to let us know how it turned out! Thanks for visiting!
📖 Recipe
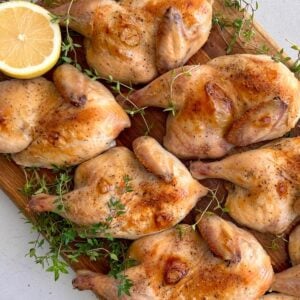
How To Cook The Best Cornish Hens
Equipment
- leave-in probe meat thermometer
- 13x18-inch rimmed sheet pan
- metal cooling rack that fits in the sheet pan
- kitchen shears
- cutting board
Ingredients
- 4 Cornish hens, defrosted
- 2 tablespoons Diamond Crystal kosher salt
- ½ teaspoon freshly ground black pepper
Instructions
Dry-Brine (Day 1)
- Unwrap the hens and pat them dry with paper towels. Place them on a cutting board or rimmed baking sheet. Using kitchen shears, cut along each side of the backbone to remove it. Split each hen in half by cutting straight down between the breasts, starting at the top where the wings are located. Clip off the wing tips; there's no meat on them, and they burn under the broiler.
- Line your rimmed baking sheet with aluminum foil, place the wire rack in the pan, and spray with non-stick cooking spray. Arrange the split hens on the rack so that they don't touch each other. If it's too crowded, use a second sheet pan and rack.
- Sprinkle ¾ teaspoon of Diamond Crystal kosher salt evenly over each half, covering all sides. Season with black pepper. Place the pan uncovered in the refrigerator for 18-24 hours.You can extend the dry brine to 48 hours. After the first 24 hours, cover the hens loosely with plastic wrap.
Slow Roast The Hens (Day 2)
- Place the oven rack in the center of the oven and preheat to 225℉. Remove the hens from the refrigerator. Insert the probe of a wired meat thermometer into the thickest part of the breast.
- Pour a little water into the bottom of the pan. Roast the hens until the internal temperature registers 155℉, about 1 hour 30 minutes.
- Remove the birds from the oven and remove the thermometer. Move the rack to 6 inches below the heating element and set the broiler to high. Let it preheat for 5-10 minutes.
- Return the birds to the oven to brown the skin for 2-4 minutes. If needed, rotate the pan halfway through to promote even browning. The hens are ready to serve. No resting time is needed.
Notes
- Day 1-2: Defrost hens in the refrigerator.
- Day 2: Split and dry brine uncovered in the refrigerator for 18-24 hours.
- Day 3: Roast, rest, and broil before serving.
Nutrition
The provided nutritional information is an estimate per serving. Accuracy is not guaranteed.
Comments
No Comments